How to Move Your WordPress Site to a New Server
Looking to transfer your entire site to a new server or backup your current site? This tutorial will show you how to migrate or backup your site easily with Duplicator plugin.
Option 1: Migrating Sites with Duplicator Plugin
Step 1) Create Package
First login to your WordPress admin and install the Duplicator plugin, a free plugin that can transfer and backup your site. The plugin creates a "package" that can be used to re-create your current website in a new environment. Now go to Duplicator from the admin menu and hit the "Create New" button:

In the next screen you can select files and or database tables to be excluded from the final package. Although this feature can come handy sometimes, you can safely ignore it and hit the "Next" button at the bottom of screen. In the next window, the plugin checks for requirements and errors:
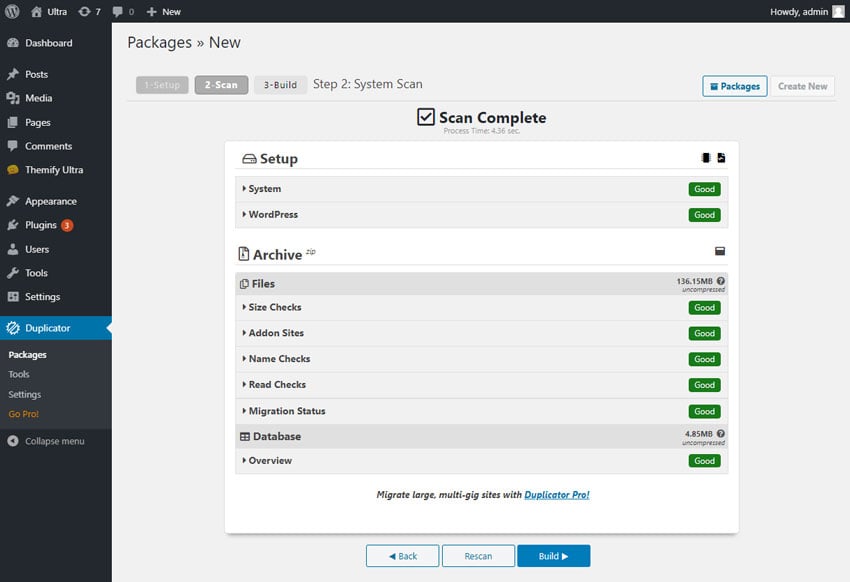
The most common errors you might see are:
- Max Execution Time: adjusting "max_execution_time" setting in php.ini file will fix that; you can contact the web hosting provider, they'll adjust this for you.
- File size warning: the error occurs if the package size becomes larger than 150MB in size, for example in website that use lots of images this could occur, however you'll likely be fine during the migration. If the migration does not work out (following the tutorial to the end) you can ask the web hosting provider to disable the server limitations momentarily.
Now hit the "Build" button. Depending on the size of your website this will take several minutes (not hours, if it takes hours something has gone wrong, you can re-try creating the package).
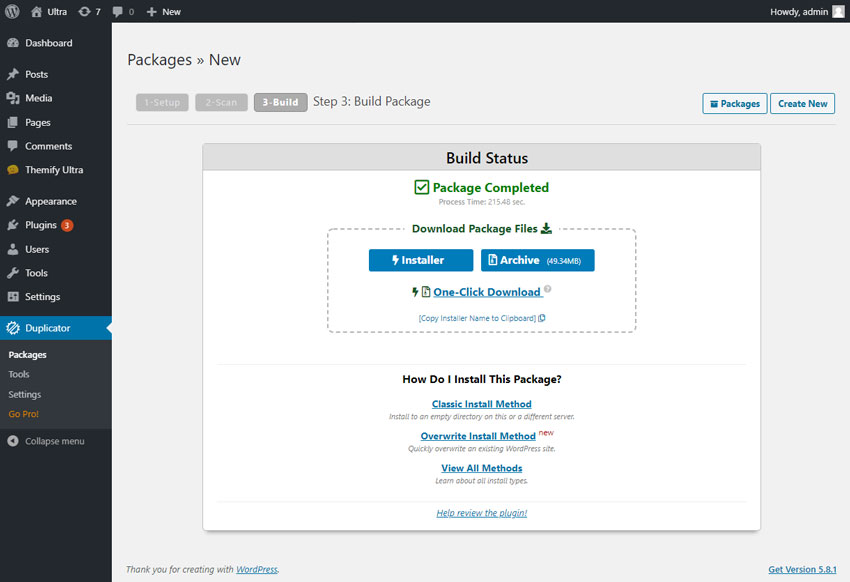
After the package is complete, download both the archive file and the installer by clicking on the blue buttons. We'll need both files to migrate the website to a new server later.
Step 2) Migrating the Website to the New Server
Now that you have the archive file and installer.php file, copy both files to the root directory of your new server (you can use FTP to upload both files), and make sure both files are in the same directory:
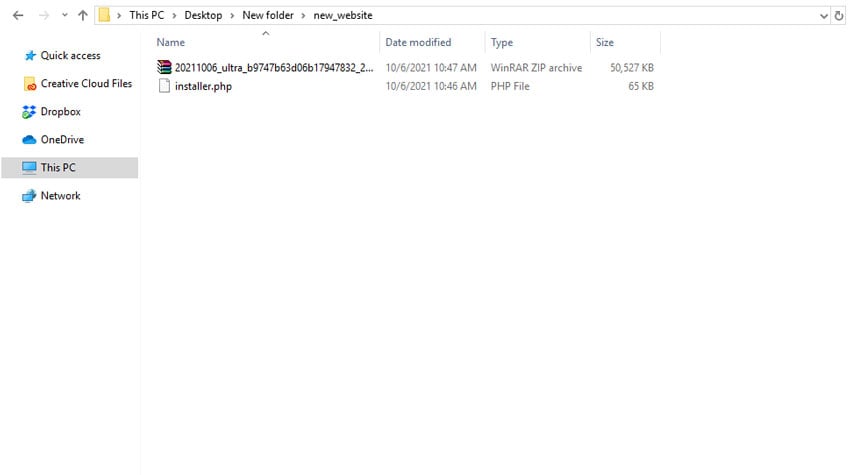
Navigate to the URL of the new domain and launch the installer.php file, in this tutorial, we are moving the site to a localhost in the "new_website" directory, so the address is: "http://localhost/new_website/installer.php":
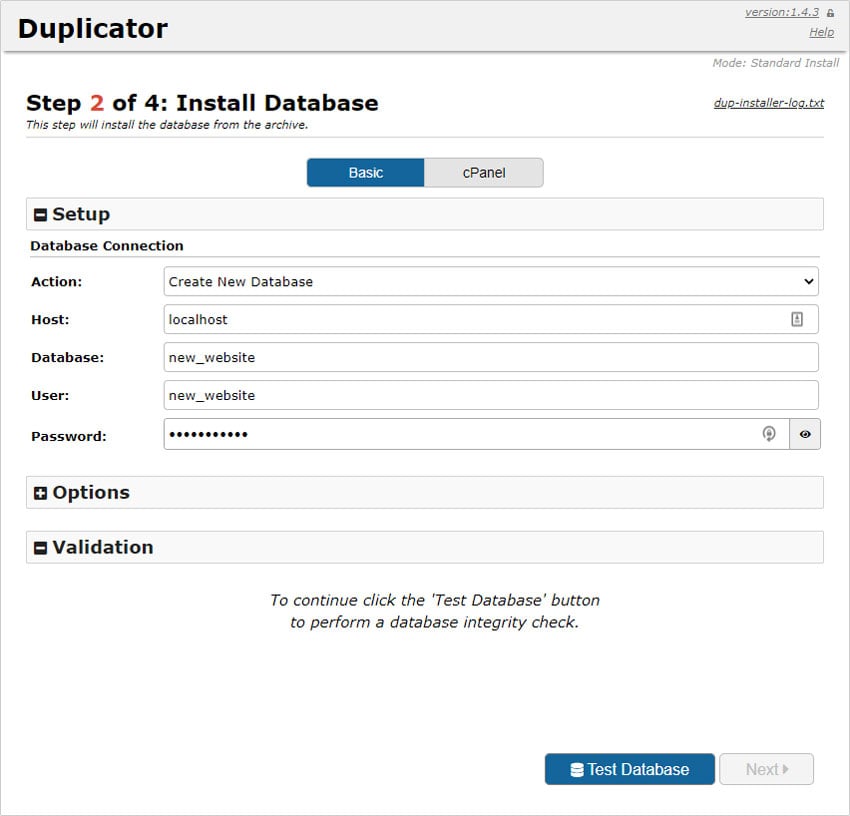
Enter the database details (if you are not sure about the database info, contact your web hosting provider), check the "I have read all warnings and notices" checkbox and hit "Run Deployment", and we're off to the next screen:
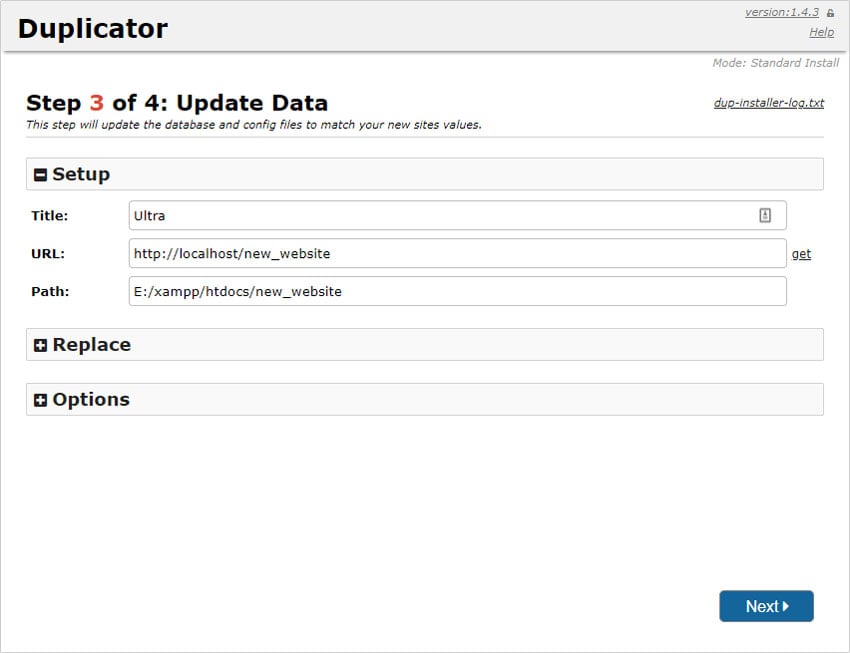
Now here's the most important bit: click the Advanced Options and then enable the "Enable Full Search" checkbox. This is required so that the URLs in Builder (links you might add, images that are uploaded to the site, etc.) are all updated to the new website. Now hit the Run Update button. That's it.
Using Duplicator as a Backup Tool
Although Duplicator is a migrator tool, but you can use it to backup your site as well.
To backup your site with Duplicator:
- First create a package with Duplicator (follow "Step 1" in this tutorial)
- Download the installer.php and the archive zip to your computer for backup
- If you ever need to restore your site, follow "Step 2" in this tutorial to upload the installer.php and archive zip to your server. Since you are restoring the site on the same URL, you can skip the step to update the site URL.
Option 2: Migrating Sites with All-in-One WP Migration
Step 1) Install the Plugin
Go to WP Admin > Plugins > Install Plugins, search for "All-in-One WP Migration" plugins and install it.
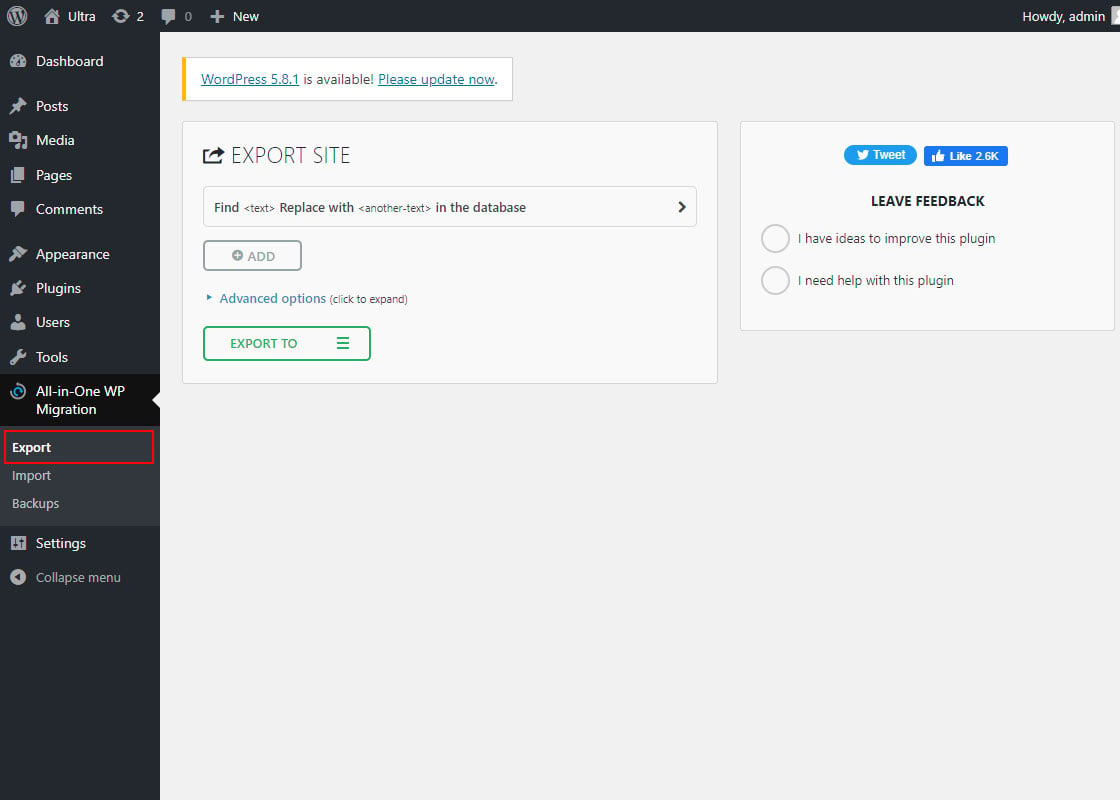
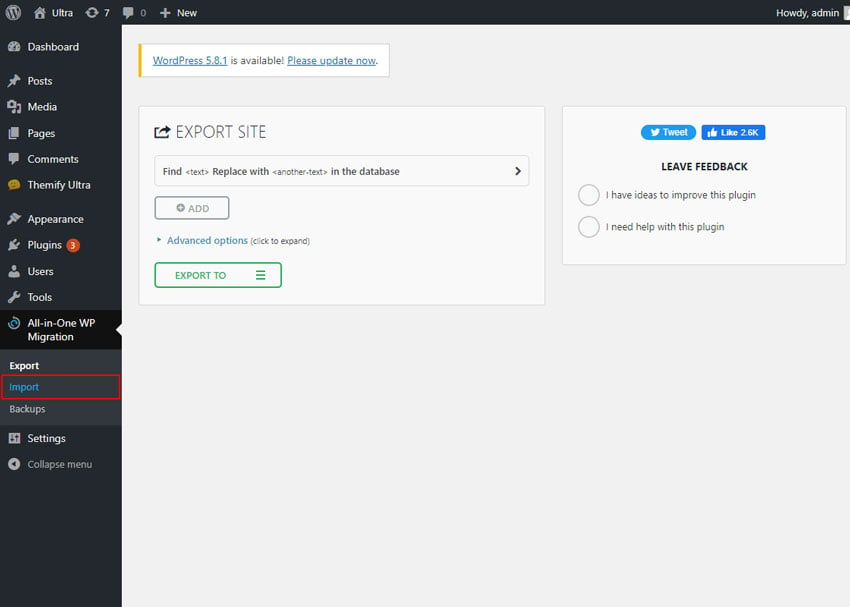
After it has been installed, you will see All-In-One-Migration in the admin panel like the image below, so click it, then click Export.
Step 2) Export the Content
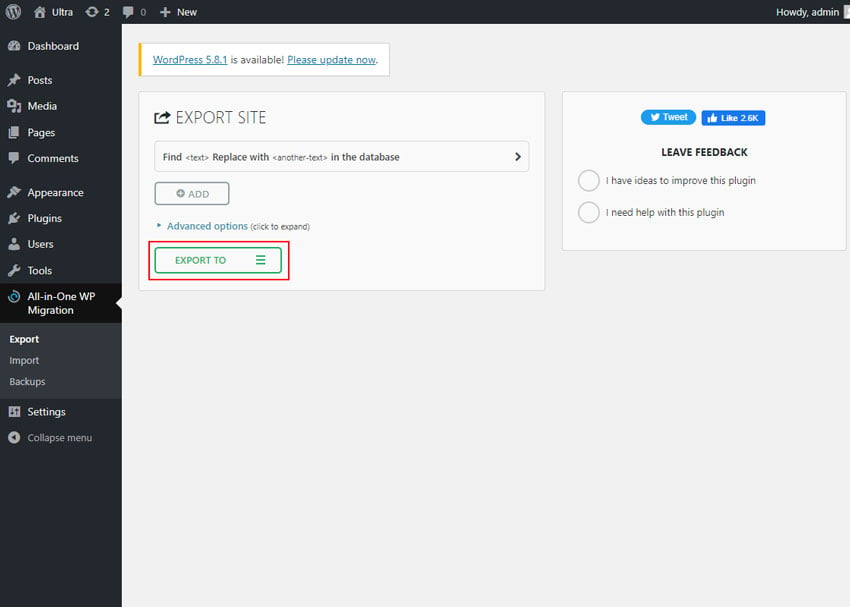
There should be a green button titled “Export to”, click it to start exporting the website.
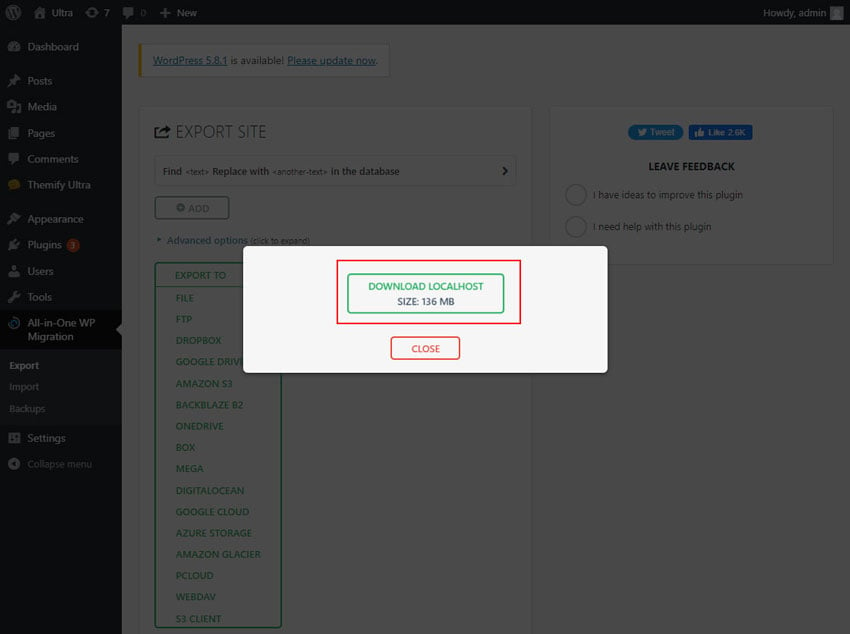
Once, you click “Export to” there will be a few different options to use. Select “File” and it will create a file for us to import later.
Note: The Advanced options above the Export button allow you to choose what options of the export to exclude but we don’t need that. So it can be left unchanged.
Download the file and save it somewhere you can easily access.
STEP 3) Import the Content
To import your site content, access your new WordPress website, go to All-In-One-Migration in the admin panel and click “Import”.
Now, you need to select the file that we exported earlier and import it, so click the "Import From" button, and select "File".

There will be a prompt after you have selected the file from your computer, so simply click proceed if you are ready to do so.

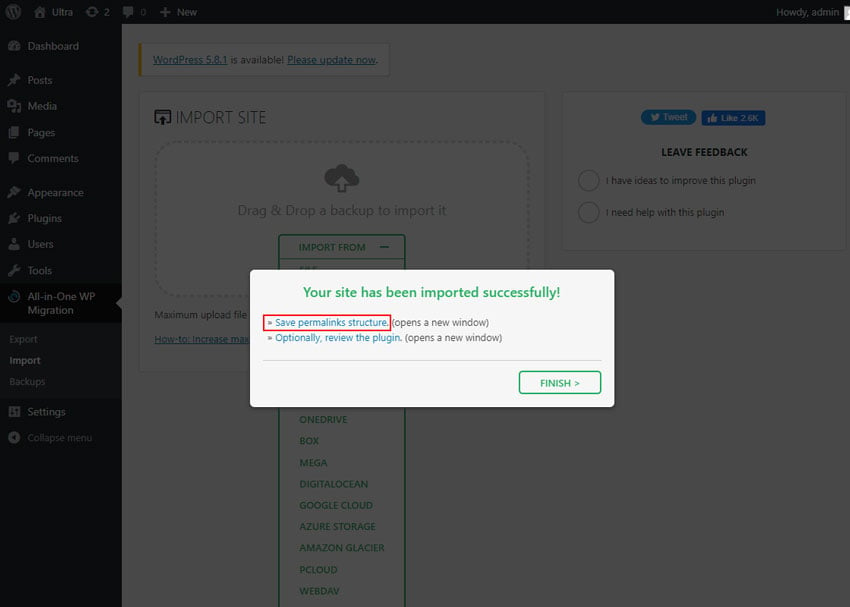
When the import is done, you will be prompted to save your permalinks twice, you can click the link in the dialogue box. It will log you out so you need to login in with the old credentials.
When you login, it should take you to the permalinks page where you can click the save changes button twice - but let the page load in between each click and that will complete the process.
With that, you have migrated your entire website. This migration does include all your plugins and media but keep in mind that the advanced options will allow you to exclude specific options if you want to leave certain things out.
NOTE: This plugin does not work on a multisite environment.
Regenerating CSS Files
After migration you might need to rebuild your cache of CSS files, so paths to images and other assets are updated. To do this, simply go to Themify > Settings > Themify Builder and click on the Regenerate CSS Files button. That's all that is needed, and Builder will re-create the CSS files on the server.