Quick Starter Guide (Old)
This quick tutorial will show you how to install and use Themify's WordPress themes. The videos below summarize this tutorial.
Part 1
The first part of the video covers from theme installation to sample content import and Themify setting panel.
Part 2
The second part covers Themify styling panel, site logo image, custom CSS panel and skins.
1. Installing The Theme
NOTE: you need to have a copy of self-hosted WordPress installed on your own server in order to install the theme. You can not install custom themes or plugins on the accounts hosted at WordPress.com.
To install the theme:
- Download the theme zip from the member area. The theme zips in the member area are always the latest version.
- Login to your WordPress site's admin
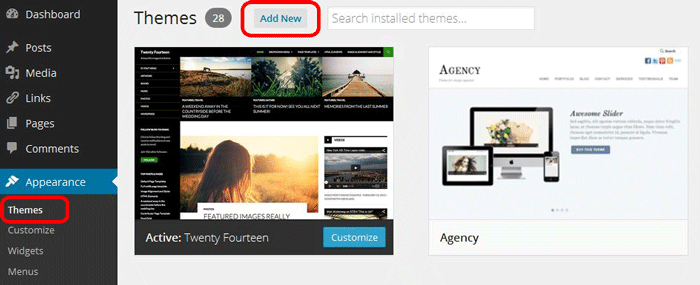
- Go to Appearance > Themes
- Click on the "Install Themes" tab, then click on the "Upload" link
- Upload the theme zip that you've downloaded from our server and click "Install Now"
- Click "Activate"
You may also install the theme with FTP, read Installing Themes for details.
2. Importing Sample Content (optional)
If you are starting a new site and would like to import the sample content as seen on the demo site, here are the steps:
- Go to "Tools > Import".
- Click WordPress (if you are prompted to install the Importer plugin, do so)
- Upload the sample-content.xml file included in the theme folder
- You will be asked to map a user to the content and import the file attachments. Check "Download and import attachments" to import the gallery images from our demo site.
- Now you may edit or delete the content as you like.

3. Theme Option Panel
After the theme is activated, it should redirects you to the Themify panel (theme option page). Under the theme option panel, there are four main tabs: Settings, Styling, Skins, and Transfer.
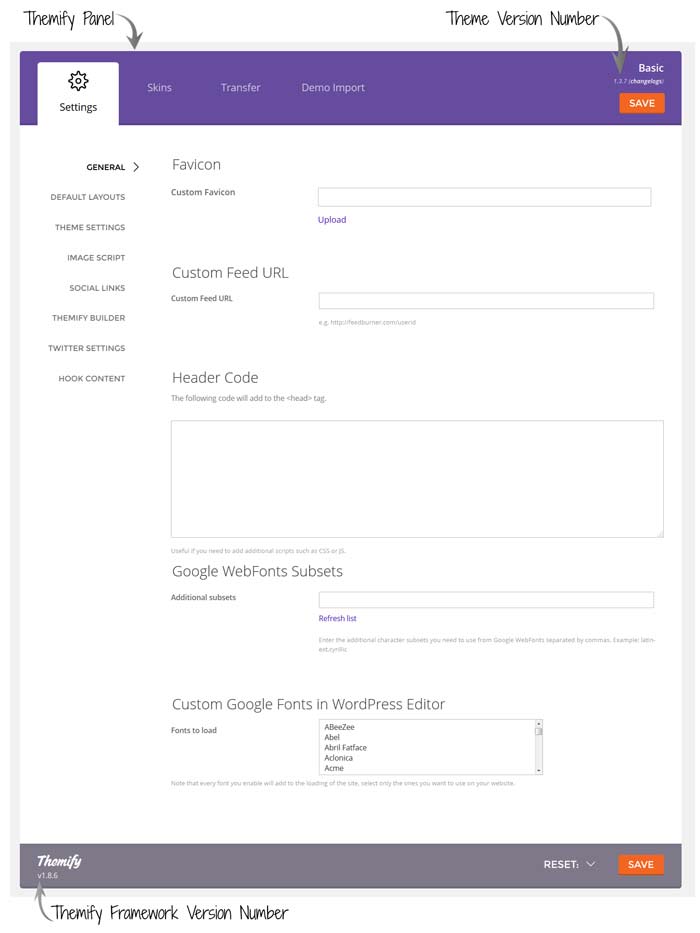
Settings
- General Settings
Under the General settings tab, you can customize the favicon, feed url, insert header code, footer code, set search categories and RSS feed settings. - Default Layouts
Here you can customize the layout options for: index pages, single post page, and static page. - Theme Settings
Under the Theme Settings tab, you can customize the features specifically built for the theme such as slider, footer widgets, RSS and search bar, etc. - Image Script
In the Image Script, you can customize or disable the img.php script that we use to dynamically generate the thumbnails.
Styling
Under the Styling tab, you can customize the appearance of the theme elements such as: body background, font styles, site logo, post title, footer, etc. You may also insert your own CSS code under the Custom CSS sub-tab.
Skins
Under the Skins tab, you may apply one of the pre-built skins. If you want to create your own skins, read Creating Theme Skins.
Transfer
Under the Transfer tab, you may backup or restore the setting data in the option panel. Click on Export to download the setting data for backup. You may restore the data by clicking on the Import button. The data in the option panel is stored in the database. Updating the theme or editing the template files does not affect the setting data.
Reset
At any time, you may clear the Settings or Styling data by clicking on the reset Settings and Styling button located at the bottom of the option panel.
4. Writing Posts
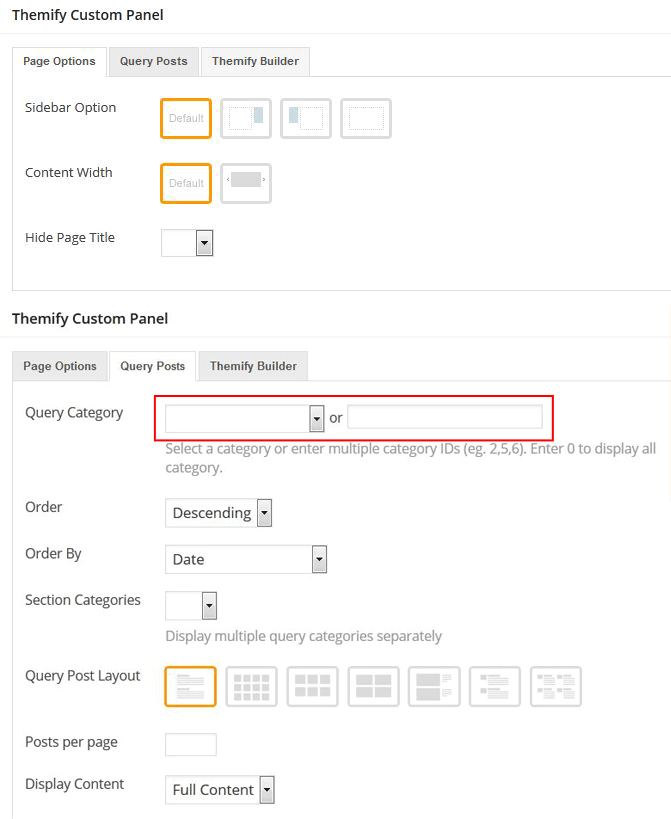
When adding or editing a Post, there is a Themify Custom Panel under the content box which allows you to override the Default Post Layout options that you set in the Themify option panel. You can override the sidebar option, toggle the visibility of the post elements such as post title, date, image, etc.
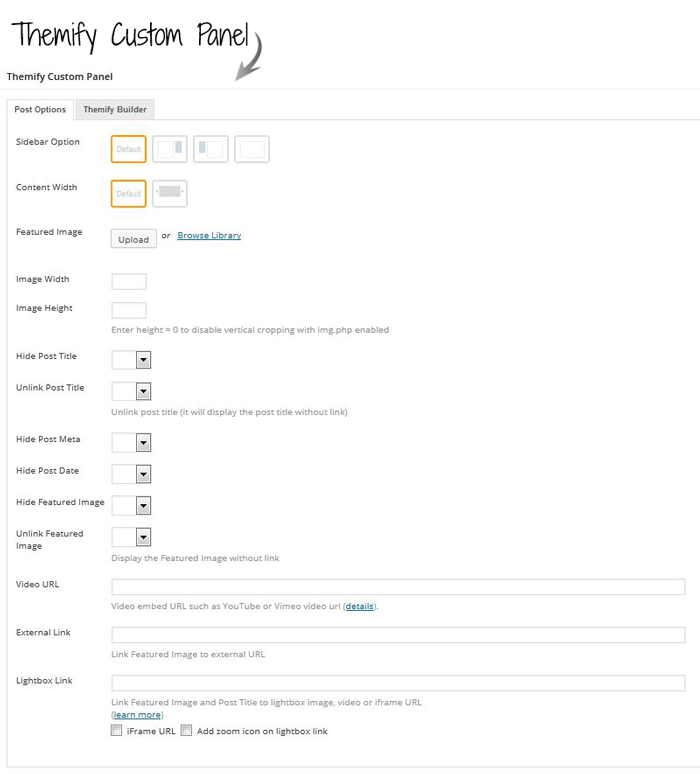
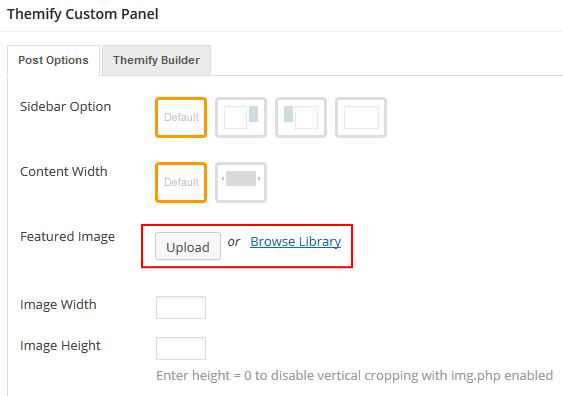
Featured Image
To attach a featured/post image, simply click on the "Upload" button in the Themify Custom Panel. The image will be automatically assigned as the post's Featured Image. The featured image is required if you want to display an image in the post, slider, and widgets. Read more on Featured Image.
5. Adding Pages
When adding or editing a Page, there is also a Themify Custom Panel under the content box. Under the page custom panel, you can also query posts from specific categor(ies). To display the query posts, select a category from the Query Categories dropdown menu. For example, you can create a Portfolio page to query the posts from the Portfolio category.
Tips: you may use any Page as your custom front page.
6. Site Logo and Description (Tagline)
Site Logo Image
To display a logo image instead of text:
- Go to Themify panel > Styling > Site Logo
- Under "Site Logo", select "Image" radio button
- Upload a logo image
- Specify the image width and height
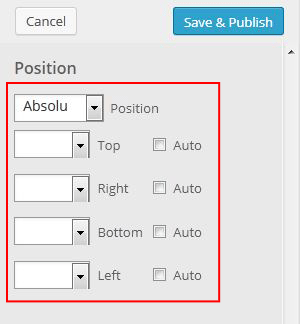
- To reposition the logo, select "absolute" from the Position dropdown, enter the "top" and "left" position
![]()
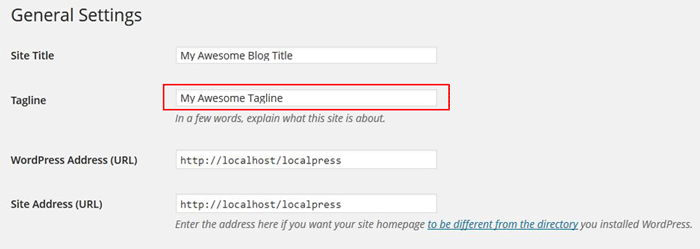
Site Description (Tagline)
To remove or edit the site description:
- Go to wp-admin > Settings
- Edit or remove the text in the Tagline field
To reposition the site description:
- Select "absolute" from the Position dropdown, enter the "top" and "left" position
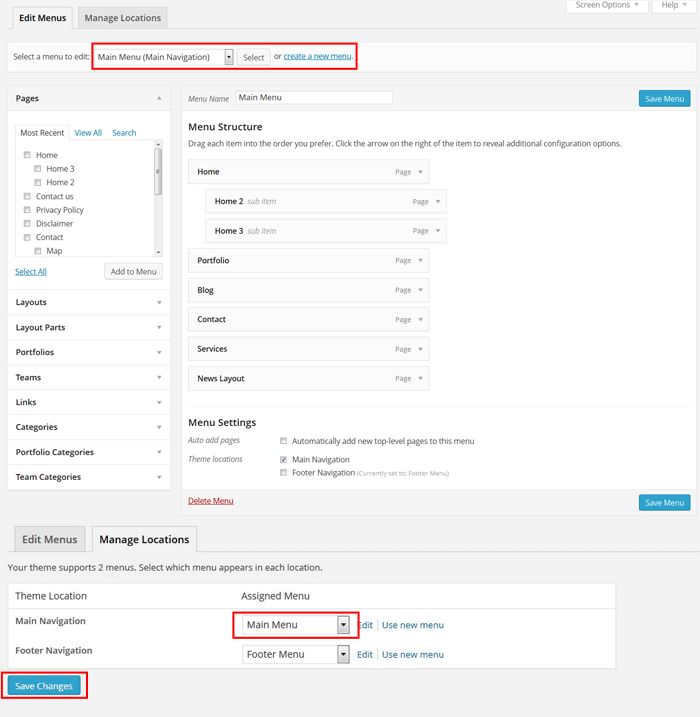
7. Custom Navigation Menus
To create a custom menu:
- Go to Appearance > Menu
- Click on the plus (+) sign to create a new menu (eg. Main Menu).
- Add the menu items from the left panels (Custom Links, Pages, or Categories)
- To create dropdown menu, drag the menu item toward the right (the item(s) will be indented)
- When you are done adding the menu items, click "Save Menu"
- Then on the top right panel where it says "Theme Locations", select the menu from the dropdown to assign it to the navigation location and click "Save"
- NOTE: the custom menu can also be used with the widget (go to Appearance > Widgets and drop in the Custom Menu widget)
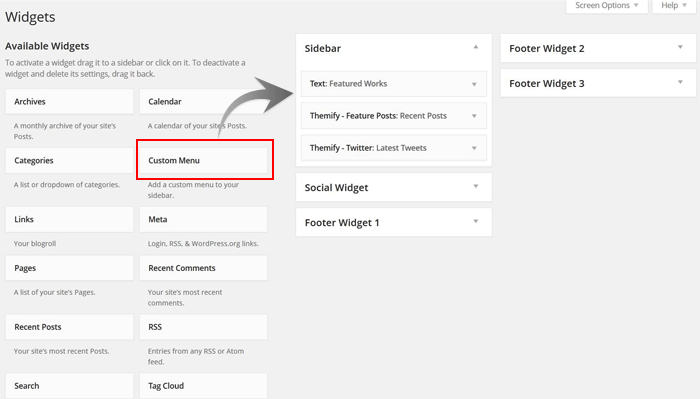
8. Widgets
To add/remove widgets:
- Go to Appearance > Widgets
- Drag the widgets from the Available Widgets panel located on the left side to the widget area panel on the right (eg. Sidebar, Social_Widget, Footer_Widget, etc.)
- To remove the widgets, drag the widget from the widget area panel back to the Available Widgets panel. If you want to keep the widget setting for future use, drag it to the Inactive Widgets instead of the Available Widgets panel. It will save your widget settings. To retrieve the widget, drag the widget from Inactive Widgets panel instead of the Available Widgets panel.
9. Shortcodes
The theme also comes with a bunch of shortcodes: button, column, quote, map, etc. Read the shortcodes documentation on how to use them.