If you decide to change your domain name, or perhaps have finally gotten the dot com version of your domain, it is essential that you change and update all the old URLS in the database to the new URL. If not, many links on your page and content such as images will likely be broken and not work.
In addition to this, when you add an SSL certificate to your site, you would need to replace all URLs in the database to https. No need to do this all manually! With the download of the free plugin 'Search & Replace', you can do this all easily.
This tutorial will show you how to use the "Search & Replace" plugin to replace all URLs or any text data in the WordPress database without going through a lot of technical steps.
Step 1:
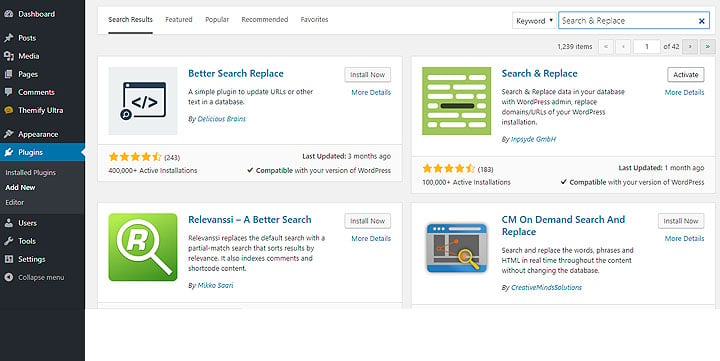
- Login to your WP Admin, then click "Plugins" on the admin sidebar
- Click on "Add New"
- Search for the "Search & Replace" plugin
- Click "Install Now" and "Activate" button
Step 2:
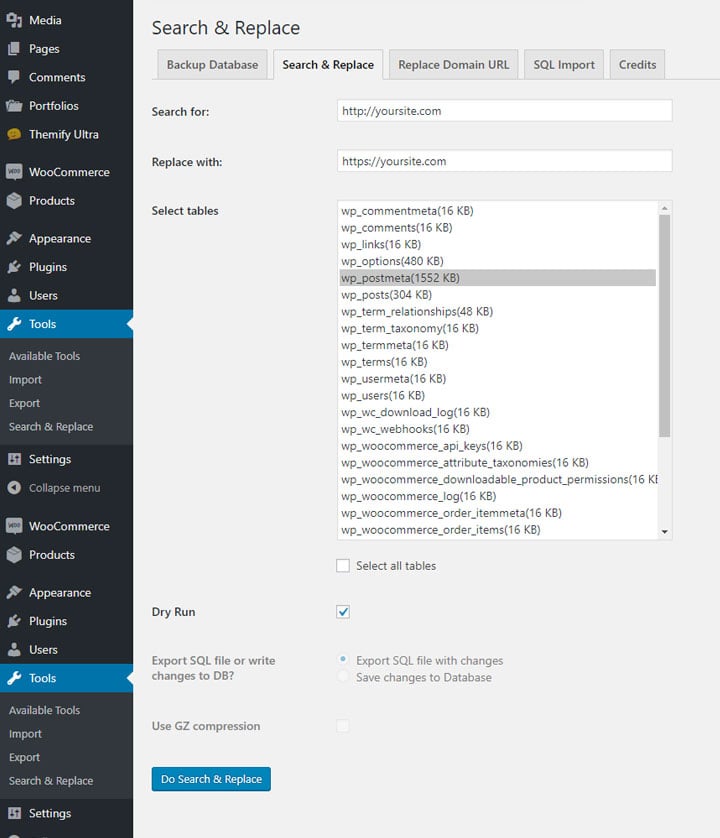
- The plugin settings will be available in "Tools > Search & Replace".
- Click on "Search & Replace" tab.
- In the list of tables, just check "wp_postmeta". Note that wp_postmeta is the database table where Themify Builder stores the data in. Selecting wp_postmeta table would only affect the data in the postmeta table. If you want to replace data in the entire database, check "Select all tables".
- In the "Search for:" field, enter the text that you want to search for.
- In the "Replace with:" field, enter the text that you want to replace. Let's say you want to replace all site URLs to https, you would enter your domain (eg. "http://yourdomain.com") in the "Search for:" field and enter the https domain (eg. "https://yourdomain.com") in the "Replace with:" field. You can pretty much replace any text data in the database, but this tutorial just demonstrates on how to replace URLs.
- Click "Dry Run" to make a test run. Running a "Dry Run" shows what would be replaced in the database.
- Once you are happy with dry run, uncheck "Dry Run", select "Save changes to database" and click "Do Search & Replace"
And then you're done!
We hope that you all enjoy this tutorial and find it helpful. Please feel free to share if you found it helpful, and what future tutorials you are looking forward to seeing in the comments below. Enjoy!
May 15, 2018 @ 5:04 pm
To Whom It Concerns:
I installed the Search & Replace plugin, but there is no “wp_postmeta” in the tables.
There is a “BBWEFpostmeta” in the tables.
I am sure this is the same as wp_postmeta, yet I do not want to take the chance and mess up my website.
Please advise.
I truly thank you for your time and consideration.
Regards,
Jerry Smales
May 15, 2018 @ 8:18 pm
Hi Jerry,
When you install WordPress, did you specify the database table prefix? Note that default is ‘wp_’. If you’ve renamed it, that explains why your table name is different. But it should be the same.
May 17, 2018 @ 1:39 am
Thanks for the tutorial. It’s helpful, but the Search & Replace plugin doesn’t actually work as you’ve explained.
If you try to replace the site URL using the “Save changes to Database” option you will get an error. The message says “If you want to change the URL (and you know what you doing), please use the export function and make sure you backup your database before reimporting the changed SQL.”
So while not that hard, there is an extra step for replacing site URLs. You have to export and then import a SQL file. It could be challenging for beginner users.