
In this tutorial, we will show you how to create a fixed fullscreen video background with Themify Builder that works on all devices, including tablets and mobile devices. This effect looks stunning because you can place elements on top of the video and animate them for a more engaging design. Best of all, it is very simple to set up and requires no coding at all. View our fullscreen demo to see it in action. We also provide the Builder layout file, which you can import into your site.
Requirements
- Any Themify theme such as Ultra or Shoppe
- A short video clip and a fallback image for the video clip (you can use our demo video file and the fallback image). The video clip should be a compressed MP4 file. Try not to exceed a 2 MB file size to reduce load time. We will use the video clip as the background video.
Let's Begin
- First, create a Builder Page by going to "WP-admin > Pages > Add Builder Page", then enter a name for your page.
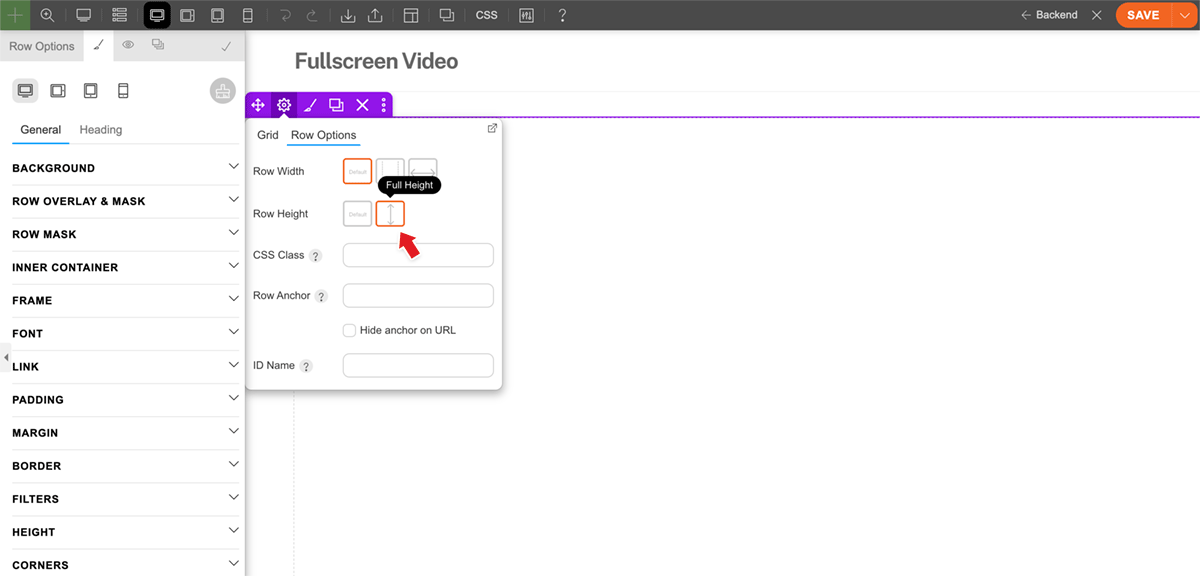
- In the first row options, select "Full Height" (this will make the row fill the full height of the screen).
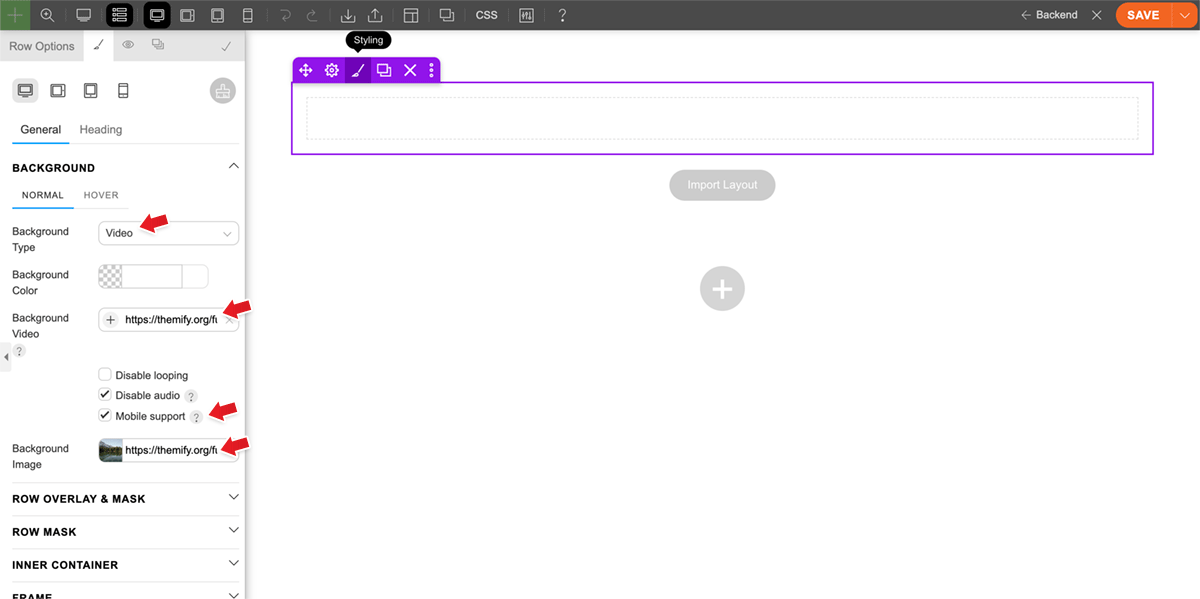
- Then go to row > Styling > Background, select "Background Type = Video", upload the video file (MP4) as "Background Video", upload the fallback image as "Background Image" (this image will display while the browser is loading the video in the background), and enable "Mobile support".
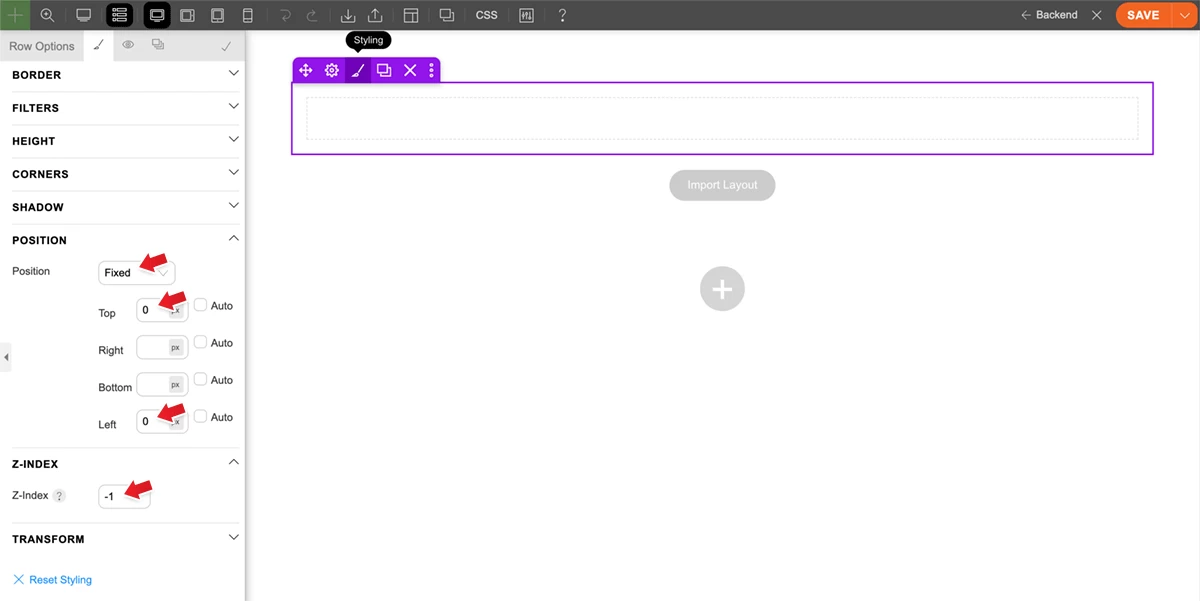
- In the row styling, open the "Position" accordion, select "Position = Fixed", and enter "Top = 0" and "Left = 0". Then open the "Z-index" accordion and enter "Z-Index = -1" (minus one). Remember to enter minus one, "-1", as the z-index. Otherwise, the row video background will cover all other rows.
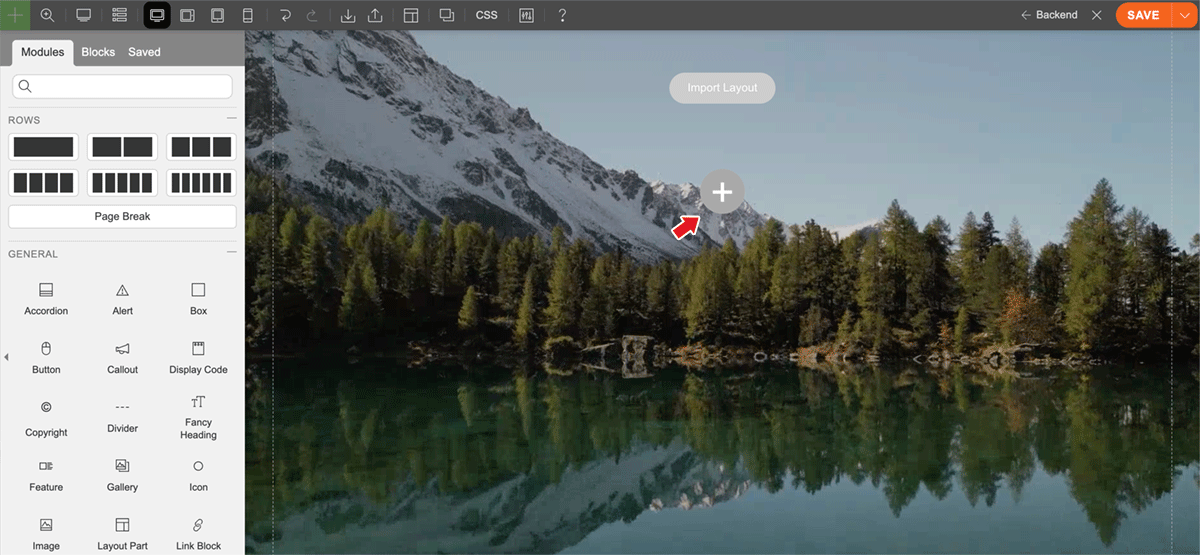
- You should now see a fixed-position row with a video in the background. To add new rows, click the large plus "+" button, which allows you to add new rows or predesigned blocks.
- Because the row has been set to a fixed position with a "-1" z-index, you will not be able to access it directly (this is normal). If you need to edit the row at any time, click the "Backend" mode on the Builder toolbar, which allows you to edit the Builder in backend mode. You can switch between frontend and backend mode at any time.

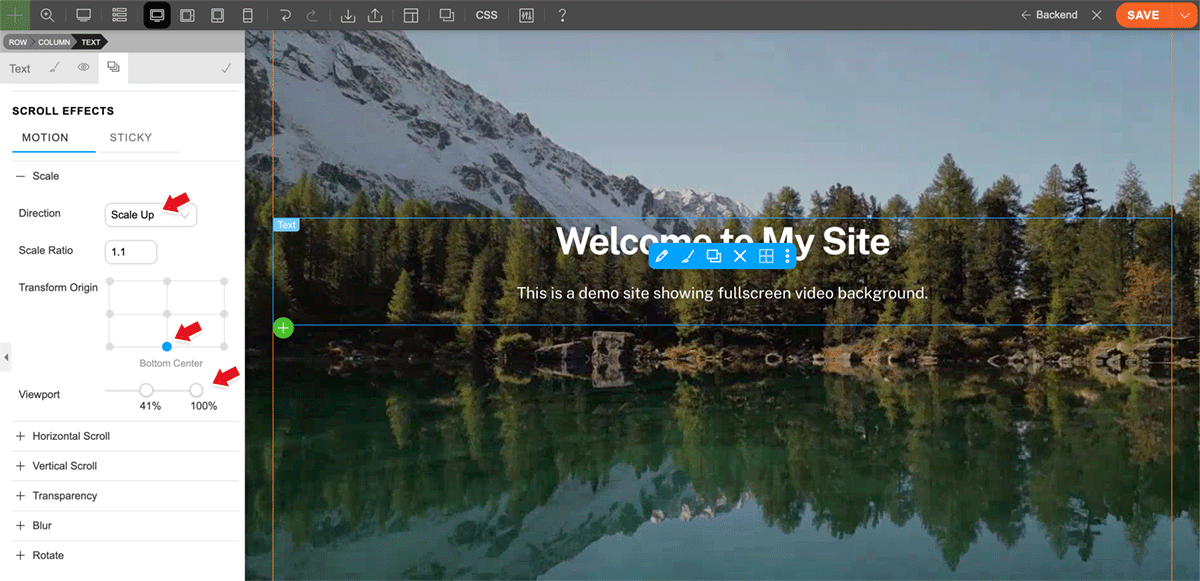
- To make the elements stand out, you can add "Scroll Effects". On our demo page, we use the "Scale Up" scroll effect to make the elements pop as you scroll. To apply the "Scale Up" scroll effect, edit any module, row, or subrow, click the "Animation" tab, open "Scale", select "Direction = Scale Up", and enter "Scale Ratio = 1.1" (you can use a higher ratio such as 1.3). Then select the "Transform Origin" position and adjust the "Viewport" slider to specify when the scroll effect takes effect based on the element’s position in the viewport.
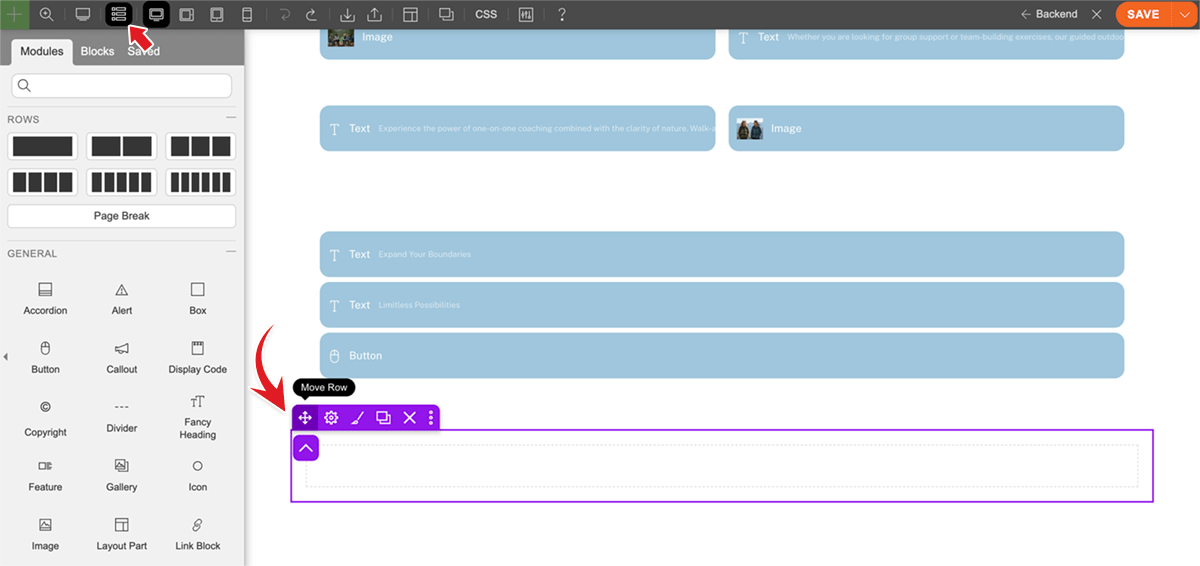
- When you are done with the page layout, switch to backend mode and move the row with the video background to the end. Because that row does not contain any content, it is best practice to place it last.
Import Demo Layout
If you like our fullscreen video demo page, you can import it into your site using Builder.
- Download the demo layout data file.
- Turn on Builder on any page where you want to import the layout, or go to "WP-admin > Pages > Add Builder Page" to create a new page.
- On the Builder top toolbar, go to "Import > Import From File", then upload the layout data ZIP file and choose either replace or append the layout.
That's it!
It is that simple to create a fullscreen video background that works across devices with Themify Builder. We hope you enjoy this tutorial and use it to create something great for your site.
April 10, 2026 @ 12:21 pm
superbe démo. merci