Photo Gallery
Before uploading any images to the gallery, go to wp-admin > Settings > Media to set the image dimensions. Every time you upload an image via the media uploader, it automatically generates a set of thumbnails (thumbnail, medium, large, etc.) according to your media settings. If you don't want to generate those thumbnails, enter zero ("0") for both max width and height.
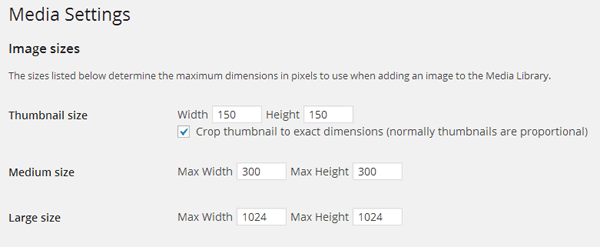
Note: changing the image sizes after the images are already uploaded will not apply to the existing images. In this case, you need to regenerate the images. To regenerate the thumbnails: click on the Rebuild Thumbnails link under the Themify option link (located left side of the admin dashboard) and then click "Rebuild All Thumbnails".
Inserting Gallery to Posts or Pages
The gallery can be inserted in any post or page.
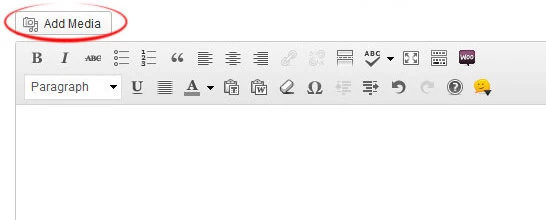
1. To insert a gallery, click on "Add Media" button
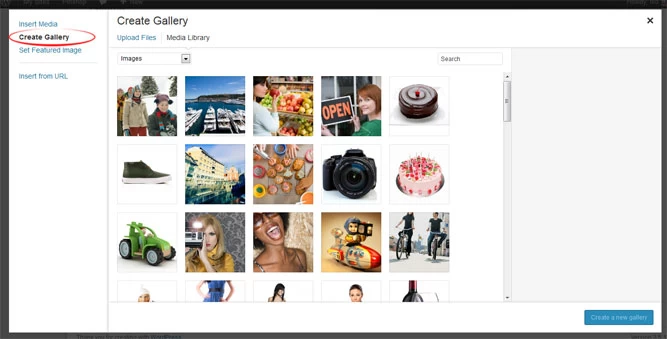
2. This will display the media window, now select "Create Gallery" to begin selecting images for the gallery.
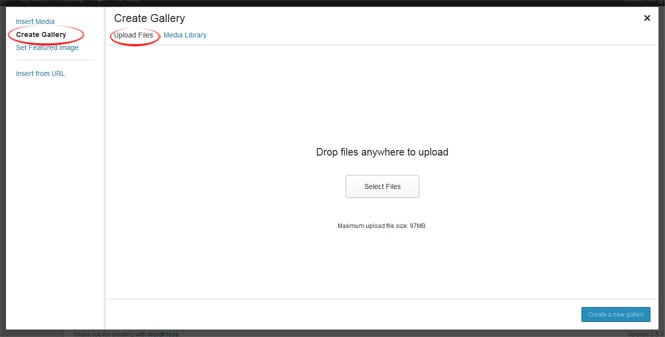
3. If you wish to upload files, make sure the "Upload Files" tab is selected. You can then upload by selecting the "Select Files" button, or by simply dragging and dropping files onto the "Insert Media" window.
4. Once files to upload have been selected, you will see them appear in the "Media Library" tab, with an upload meter.

5. To select images for the gallery, make sure you're in the "Media Library" tab and click on the images you wish to place in your gallery, this will toggle a checkbox on the images and you will see them appear below next to a count of how many images are selected.
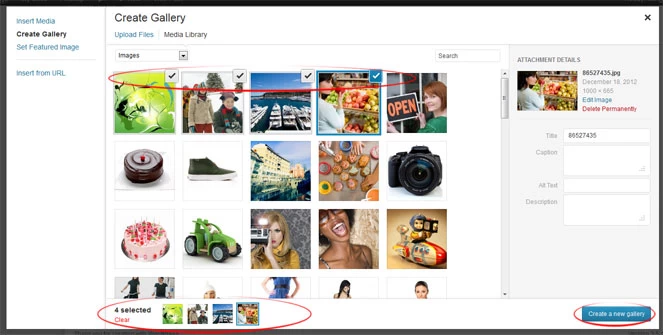
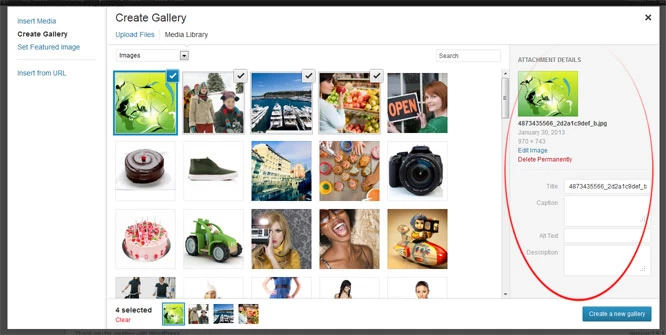
6. You can enter optional image information such as title and caption here in the "Attachment Details" panel for each image.
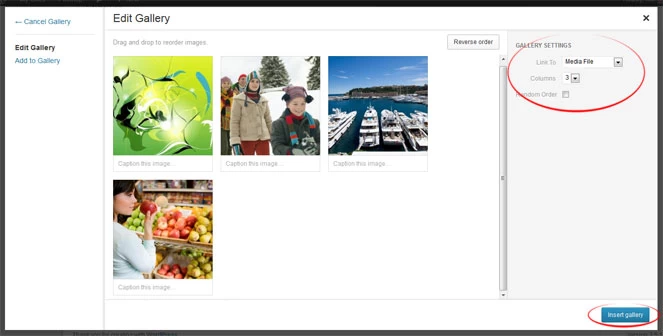
7. Once all images are selected, click the "Create a new gallery" button and you will be presented with the "Edit Gallery" screen. Here you can arrange the order of images by drag & drop, add/edit captions, and select options for this gallery such as where images should link, etc.
- If you wish to use lightbox with these images, you should set the "Link To" option to "Media File" for the gallery.
- You may set the number of images to appear per row by selecting the 'Columns' option (eg. columns=3 means 3 images per row). To have all images running inline as one row, select Columns = 1.
8. Once ready, click the "Insert gallery" button.
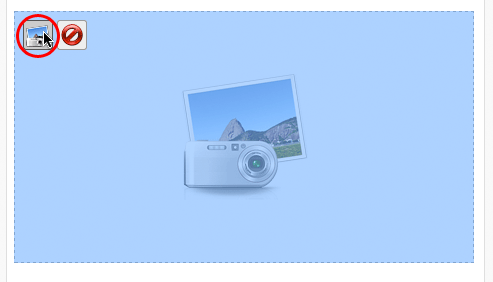
9. Now you should see a big blue gallery box in the content area. If you need to change the gallery settings or add more images to the gallery, click on the "Edit Gallery" icon.
Inserting Gallery with Shortcode
You may also insert the gallery with shortcode in the content or excerpt. The shortcode for gallery is:
[gallery link="file" ids="729,732,731,720"]
Where the 'ids' value is the ID of the images you wish to display.
Other parameters you can pass to the gallery shortcode are listed in the official documentation.
Displaying Gallery With Text Widget
To display galleries in sidebar widgets: drop in a Text widget and insert the gallery shortcode as documented above.
My gallery is not showing on the index pages?
If the gallery is not showing on the index pages (such as home, archive, search, tag pages, etc.), make sure your Content Display option in Themify > Settings > Default Layouts > Default Index Layout setting is set to display 'Full Content'.