Hello, mega menu lovers. We are thrilled to bring you some exciting news. The beloved mega menu, previously limited to selective themes like Ultra and Shoppe, has now been seamlessly integrated with our Builder. The new mega menu feature has been designed for effortless usability and functionality. It uses the core WordPress menu admin to configure the mega menu, eliminating the need to start from scratch. Furthermore, this integration ensures backward compatibility—should you choose to disable the mega menu in the future, your existing menus remain intact.
Our mega menu isn't just versatile; it's also impeccably responsive on both desktop and mobile devices. This means that regardless of how your audience views your website, the mega menu will adapt seamlessly to provide a consistent, user-friendly experience.
For those managing extensive websites with an abundance of pages and links, the mega menu proves to be a handy tool. It allows you to showcase multi-column dropdowns that can feature links, textual content, or even widgets. Imagine presenting featured posts, WooCommerce products, and more, all neatly organized within the mega menu's expansive layout. Now that the mega menu has been incorporated into the Builder, you can use Builder Pro to start creating header templates with mega menus.
How to Use the Mega Menu
- To utilize the new mega menu feature, start by configuring the menu through WP-admin > Appearance > Menus (for detailed instructions, refer to the mega menu documentation). If you're using a Themify theme that already includes the mega menu feature such as Ultra or Shoppe, you can skip this step. The Builder is integrated with the mega menu provided by the theme.
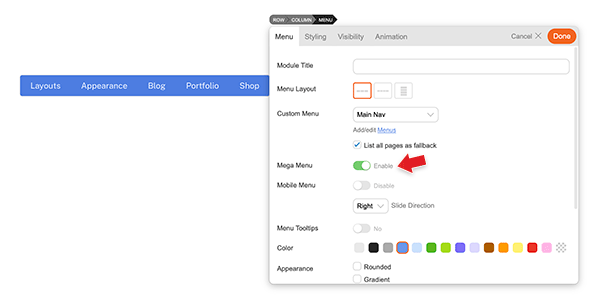
- Once the menu is configured, navigate to any page, turn on the Builder, add the Menu module, and enable the "Mega Menu" option. That's all there is to it.

