
We live in a multilingual world and if your website is only available in a single language, you're missing out on being able to reach a huge chunk of the Internet's estimated 4+ billion worldwide users!
In this post, you'll learn how to translate your entire WordPress site in just a few minutes (including your Themify theme), with our step-by-step WordPress multilingual tutorial. But first, let’s go deeper into why exactly going multilingual is so beneficial.
The Benefits of Translating Your WordPress Site
Creating a WordPress multilingual website gives you more chances to connect with people on a worldwide level in an organic search, and then offer them a better and more personalized user experience once they land on your site. How does translating your existing content increase your web traffic, you ask?
Well it’s just simple math. for example, let's say that you notice the following search patterns:
"Handmade silver jewelry" gets 5,000 searches per month in English, but the same phrase in Spanish receives just 2,000 searches. By translating your existing content into Spanish, you're now giving the same content an opportunity to rank for an equal amount of searches as it would in its native language. As an added bonus, oftentimes non-English search queries have lower competition, which makes them easier to rank for.
And finally, it isn’t exactly a shocker that providing a translated version of your site would increase a user’s experience. But since 9 in 10 always prefer to use their own language on a website if available, according to a Gallup survey, it’s clear that many may revisit a site that has been optimized to receive them instead of revisiting a site that hasn’t.
How To Create A WordPress Multilingual Site With Weglot
For this post, we’re going to see how one tool, Weglot, a WordPress multilingual plugin can help you translate your entire site in just minutes. Weglot first uses automatic machine translation to translate all of your content as soon as you activate the plugin. Then, you can use the Weglot cloud dashboard to manually review all of the translations, and/or outsource translations to professional, human translators.
To help you rank for search terms in different languages, Weglot follows all of Google's recommended SEO principles for multilingual websites, and it also includes a language switcher button to help visitors switch to their preferred language.
Now that we've covered the why, let's dig into the how of using Weglot to create a WordPress multilingual site.
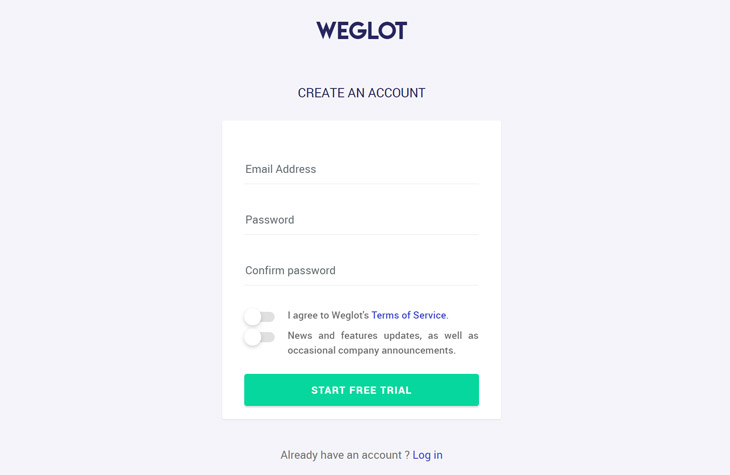
Step 1: Create A Free Weglot Account
To get started, you'll need to create a free Weglot account, which you’ll use to access the Weglot cloud interface and manage your translations.
To create your account, head to the Weglot registration page and enter your account information:
You'll receive an activation email shortly after registering. Clicking the link to activate your account will open a page that contains an "API key". Keep this API key handy because you'll need it in the next step:
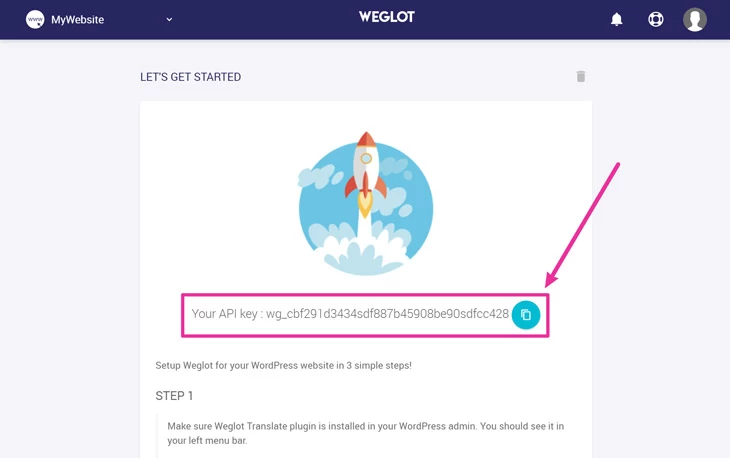
You can always find your API key in your Weglot dashboard, as well.
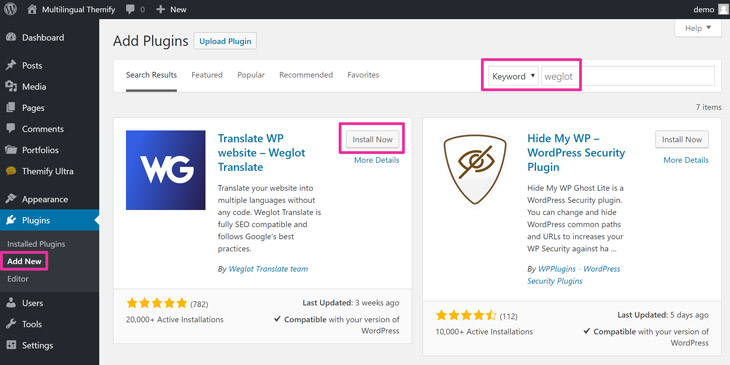
Step 2: Install Weglot Plugin and Activate With API Key
Now, head to your WordPress dashboard and go to Plugins → Add New. Search for the Weglot WordPress multilingual plugin. Then, install and activate Weglot on your site:
Once you activate the plugin, click on the new Weglot option in your WordPress dashboard and paste the API key from Step 1 into the API Key box in your WordPress dashboard. This is what connects the plugin to your Weglot account:
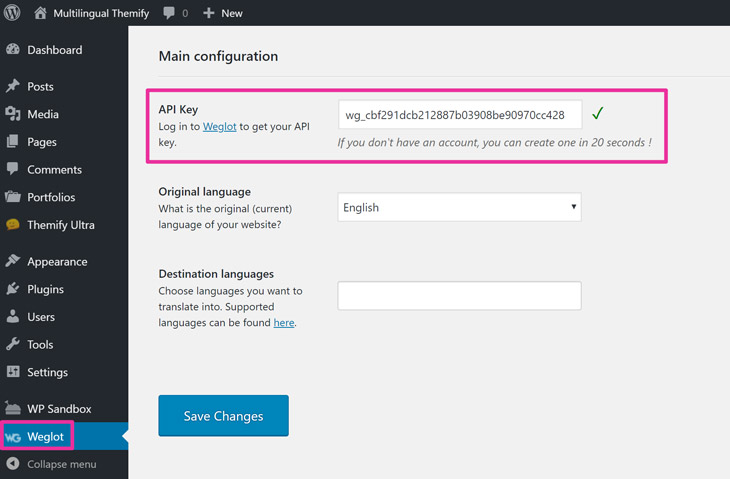
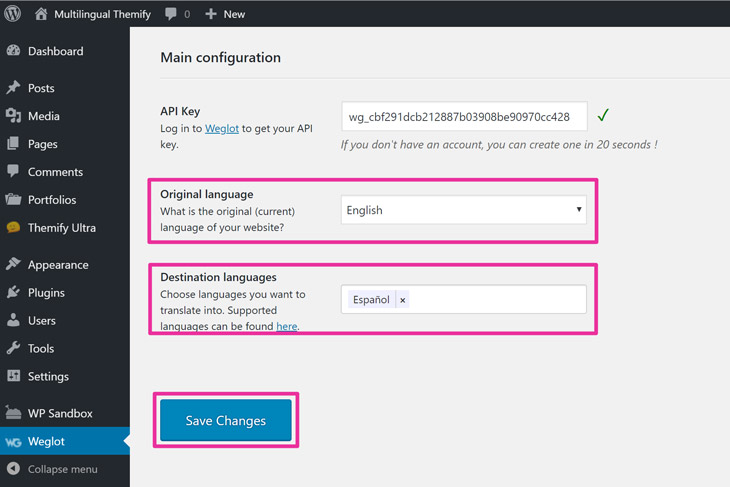
Step 3: Choose Languages and Translate Website
Below the API Key box in your WordPress dashboard, you need to configure two settings for:
- Original language - the current language of your site.
- Destination languages - the language(s) into which you want to translate your site's content.
Once you've made those choices, click the Save Changes button to finish the process and translate your site:
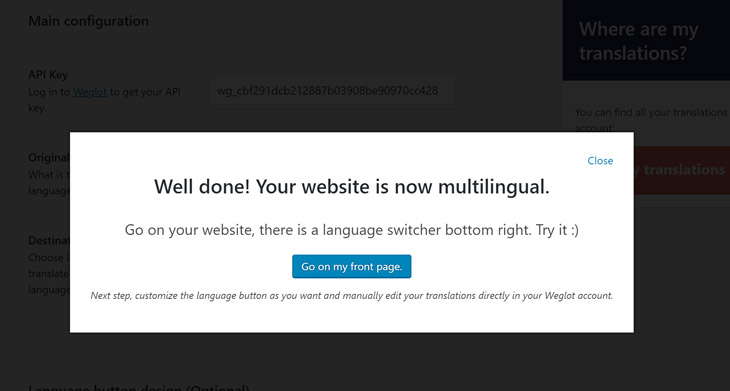
As soon as you click that button, Weglot will automatically translate your site's content and you'll have a working WordPress multilingual website ready to go.
There's still a little housekeeping to do to finish out this WordPress multilingual guide, but you’re now well on your way!
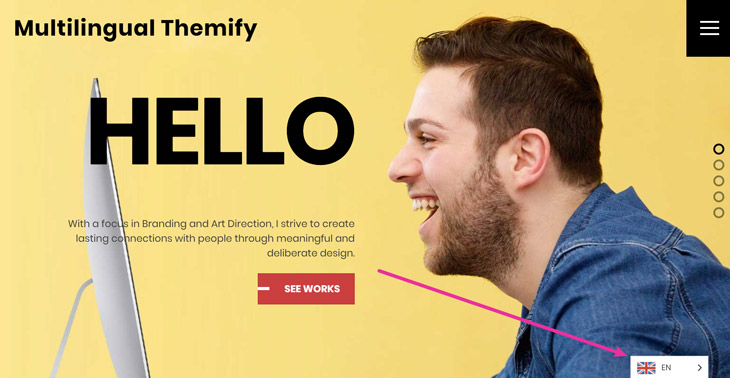
Step 4: Modify Language Switcher Button (Optional)
By default, Weglot adds a language switcher button in the bottom-right corner of your site:
If you'd like to modify this language switcher, you can do that by using some new settings in the Weglot area of your WordPress dashboard:
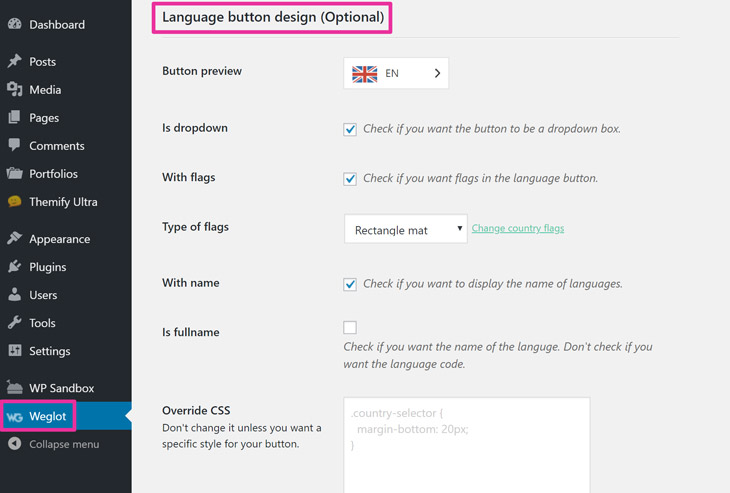
Beyond the default positioning, you can also add your language switcher:
- As a navigation menu item
- As a widget
- With a shortcode
- In your theme's source code
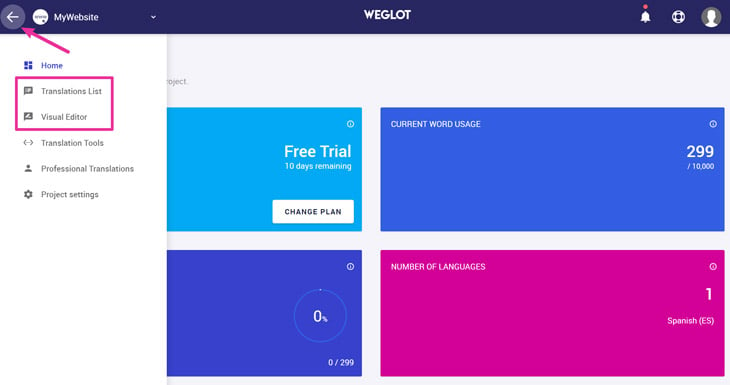
Step 5: Manage Translations In Weglot Cloud Interface
To manage your site's translations, you'll work in the Weglot cloud dashboard, not your WordPress dashboard.
Here, Weglot gives you two different ways to work with translations, which you can access from the hamburger menu in the top-left corner:
- Translations List - a side-by-side list of the original and translated text.
- Visual Editor - a live preview of your website where you can click on text to translate it.
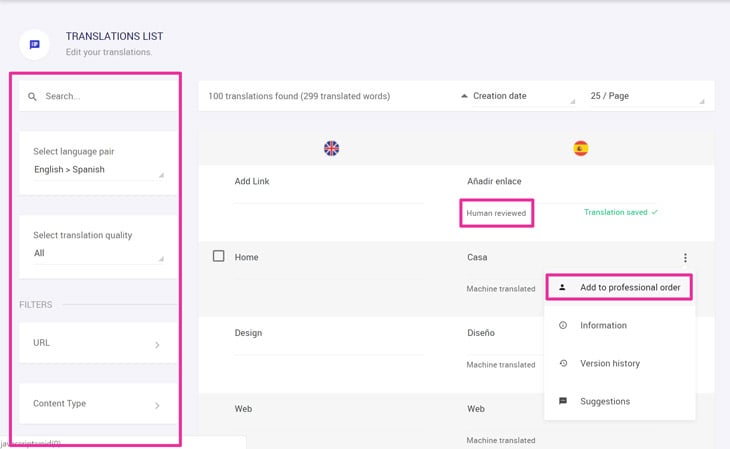
Here's what the Translations List looks like. Important features here are:
- You can use the many search and filter options to find specific translations.
- Weglot will mark a translation as "Human reviewed" to help you keep track of what you've already done.
- You can outsource translations to professional translators.
And if you launch the Visual Editor, you can hover over the text that you would like to translate and click the pencil icon to open a popup translation interface:
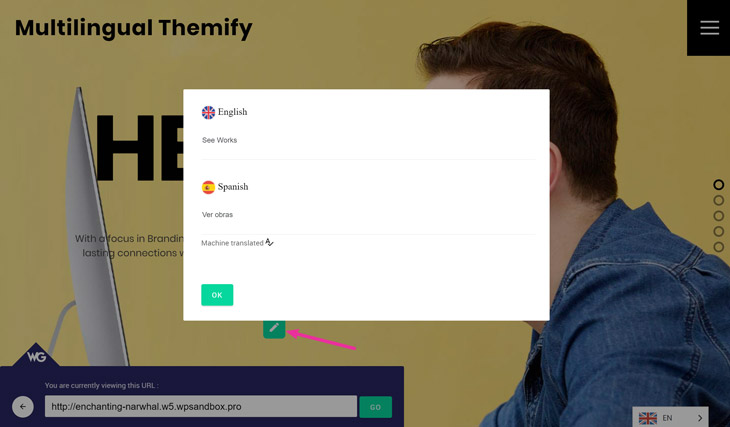
If you make any edits in these interfaces, Weglot will automatically sync those changes to your live WordPress multilingual site.
How To Translate Your Themify Content
Next, let's single out how to translate your Themify theme and any content that you've created with the Themify Builder page builder. There's no special process here - you can use either of the two interfaces above to manage all of your Themify content.
For example, to translate Themify Builder content, you can just hover over it in the Visual Editor:

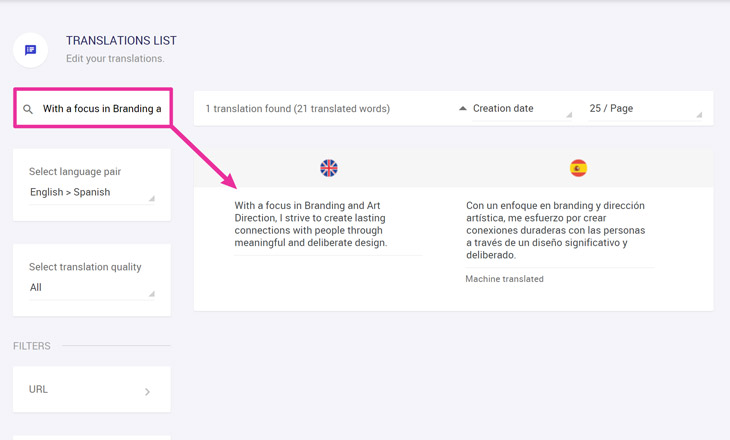
Or, you can use the Translations List search and filter options to find and translate your Themify content:
And that’s pretty much it! With Weglot, it's easier than ever to create a WordPress multilingual website, including the translation of all the content that comes with Themify themes and/or the Themify Builder plugin. By following the steps in this tutorial, you can have a working WordPress multilingual website in just a few minutes time.
If you enjoyed this tutorial, don’t forget to let us know in the comments below, or share about how it’s helped you on your social links so that we can retweet it or personally thank you! In need of a little more direction? Check out our foundational tutorial series to help you on your way!
February 25, 2019 @ 10:12 pm
having nice options of flexibility like this for WordPress users I think in my personal opinion makes a WordPress blogging career that much simpler :-)
March 25, 2019 @ 10:06 am
This is great! But it seems to only work from English to other languages. My website is in Norwegian, but some of the themify words are in English (and I don’t know how to change those manually) so when I translate from Norwegian > English, the English words are ignored, but I really want to be able to edit the original word to Norwegian first – or manually afterwards – so the entire site is in Norwegian also, rather than mixed.
Any idea how to do this? Or how to manually translate Themify-specific words? For example, look at this page http://richardharris.no/project/efaktura/ and notice that “client” “services” and “date” are in English while the rest is in Norwegian.
Would love some help with this! :)
March 25, 2019 @ 10:19 am
Btw, it looks like that page and others with the same problem are made as a “Portfolio” (under “Portfolios” in the left menu on wp-admin).
March 25, 2019 @ 1:24 pm
I think I found the answer in your earlier blogpost: https://themify.me/docs/translating#loco-translate
January 31, 2020 @ 6:50 pm
Weglot is expensive and locotranslate is not looking on Themify content … just on theme, plugins or wordpress admin. There is other way to have a multi language site?
January 31, 2020 @ 9:46 pm
Loco plugin is for translating text on the frontend, not making a bilingual site. There are some other free bilingual plugins, please check: https://wordpress.org/plugins/tags/bilingual/