There are quite a number of options when it comes to choosing a theme for your WordPress website. Themify is one of the oldest and most popular theme sellers that offers a number of beautiful WordPress themes. Therefore in this article, we'll explain to you how to take your Themify theme to the next level by making it multilingual with Weglot.
Our automatic translation solution detects and translates the entirety of your website and allows you to reach foreign audiences within minutes. In just 3 easy steps, you can create your multilingual website and benefit from the opportunities of going global with Weglot!
So let's start!
Installing Weglot on your WordPress site!
Step 1:
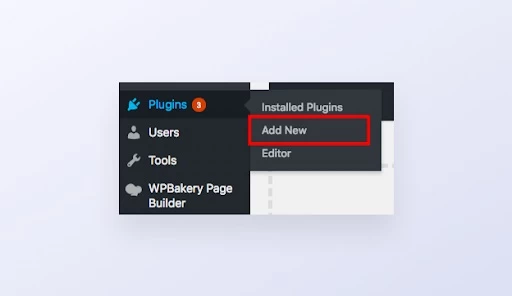
First, go to your WordPress dashboard > 'Plugins' tab > 'Add New' and search for Weglot within the search bar.
Click install. Once it's been installed click on the activate button.
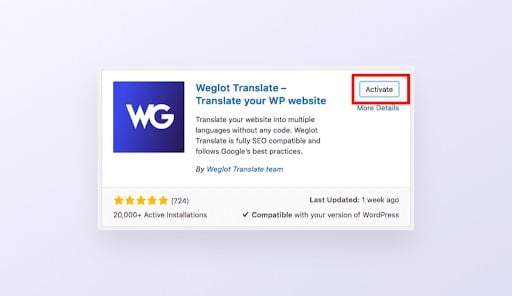
You'll now have a Weglot tab within your WordPress dashboard. Click on the Weglot tab to finalize your configuration.
Step 2:
You can now choose which languages you want to translate your site into within your Weglot tab on your WordPress Dashboard.
To do this, enter the unique API key—available on your Weglot Dashboard (you'll need to create an account to get access to this).
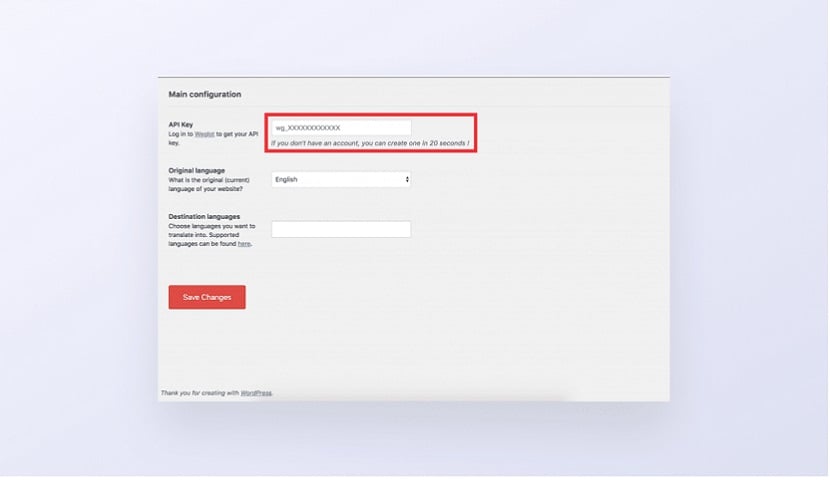
Then select the original language of your site and enter the new languages you want to translate your site into. Click 'Save Changes'.
Step 3:
Congratulations, now your website is multilingual! When your foreign customers visit your website, they will be pleasantly surprised to see a language switcher button that allows them to select their preferred language. And the fun part is that you can customize your language switcher without any code through your Weglot tab on your WordPress Dashboard!
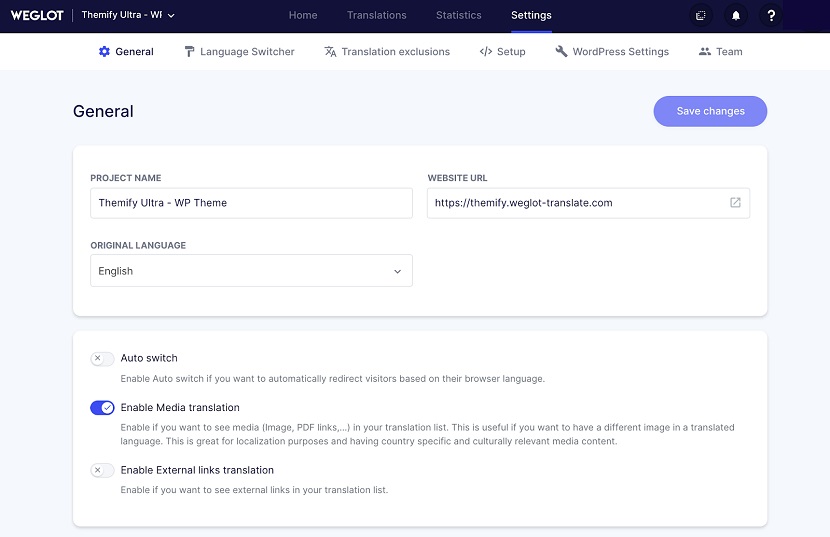
You can also choose to automatically redirect your visitors by their browser language, you can do so by making sure that "auto-switch" is turned on in your 'Settings' tab within the Weglot Dashboard!
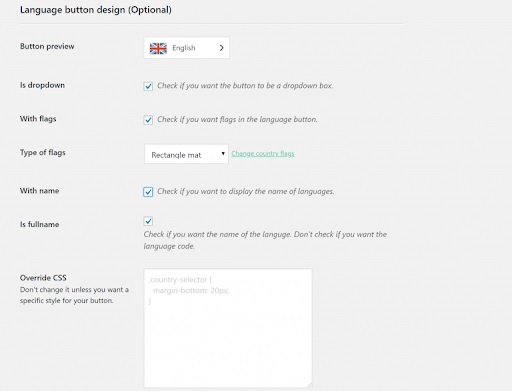
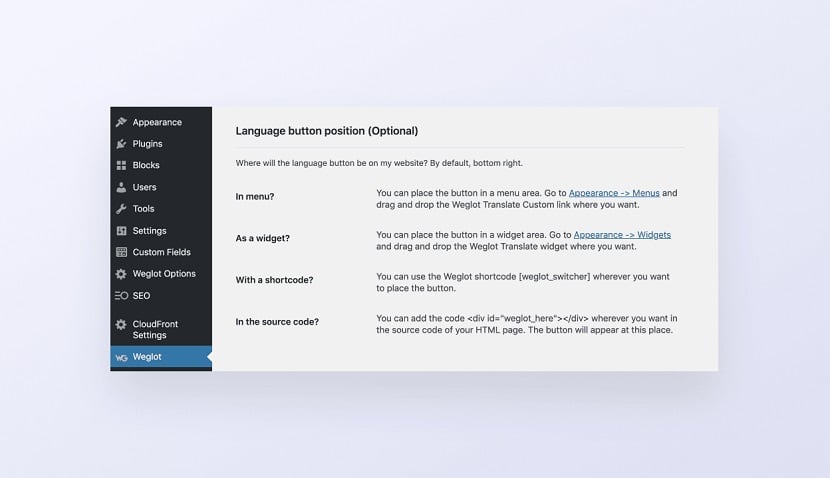
By default, the language switcher will appear in the bottom right - but there's also the option to change this too.
Managing your translations
Weglot starts the translation process with a fast first layer of automatic translation. All you need to do is to check your translations and make sure you're happy with them. If you need to make any changes, you can simply go to your Weglot Dashboard and edit each translation manually.
If you prefer a professional translator to do the editing instead, you can order this through your Weglot Dashboard as well. Or, if you have a colleague that speaks the language, you can add them to your translation project and work together!
When it comes to managing your translations with Weglot, there are two options. The first one is to view and edit your translations in the 'Translations' tab of your Weglot Dashboard - where you can manage your translations by URL.
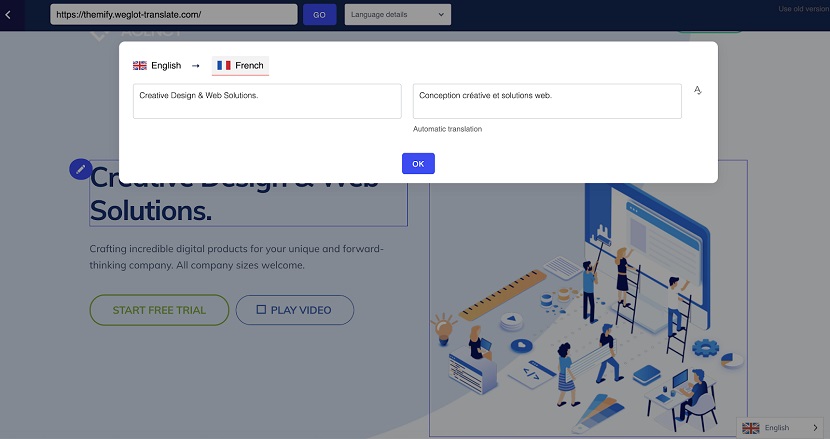
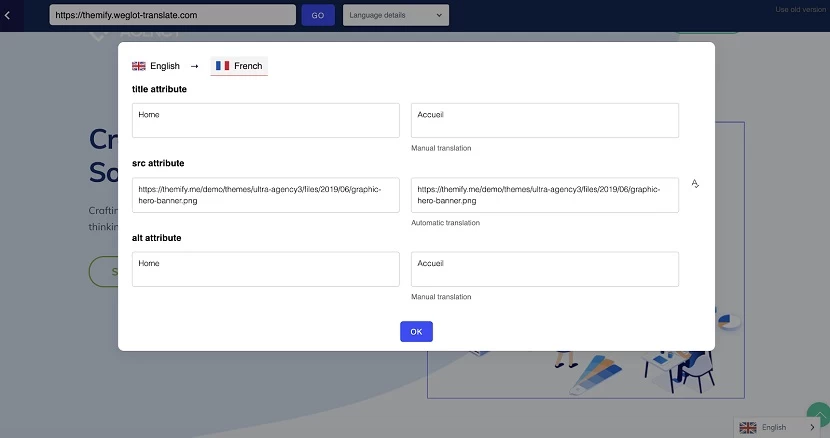
The second one is the in-context editor that allows you to make changes directly on a preview of your website. This way you can see how your translated pages will be seen by your visitors and make adjustments. Any changes you make here will be automatically applied to your site once you've clicked 'OK'.
Translating images
In addition to translating your Themify theme, you can also translate the non-textual components on your website such as images and videos. This is important because it offers a fully multilingual user experience for your foreign visitors and it also improves your multilingual SEO.
This can also be done through the visual editor. Just make sure you switch on 'Enable Media Translations' in your Weglot dashboard.
Go into the visual editor:
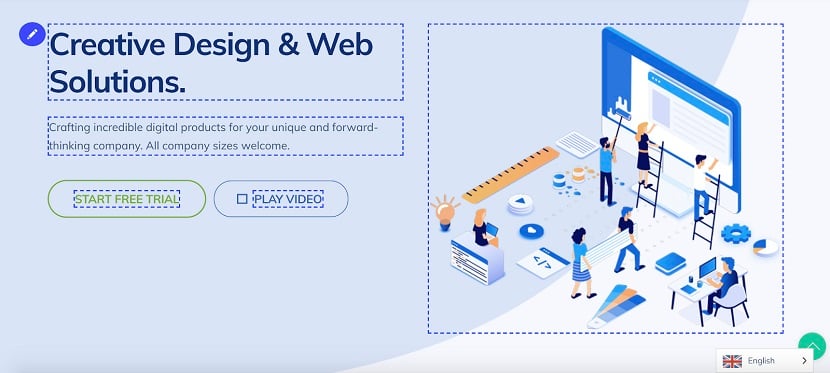
Click on the image you want to change and then change the image URL to a different image file that would work better for your new target market.
Similarly, you might also want to change and localize a video for your new target market. Perhaps you've got a version with a voice-over in another language. In that case, simply click on the video you want to change and put the URL to link to the new video.
December 17, 2020 @ 9:13 am
Very helpful tutorial.
December 17, 2020 @ 3:20 pm
I have tried Weglot several times before (none in the last year) and the result have always been horrible! specially with content built using front builder.
Question is? A lot of things changed within the last year, so it’s now (finally) viable to use Weglot with Themify?
Thanks a lot
December 22, 2020 @ 5:25 pm
Hey Dan,
Weglot has a demo that you can see here that shows the compatibility of Weglot and Themify. https://wordpress-translate.weglot.com/themify-ultra/
We would love to have you test Weglot out again. If you have any questions or concerns feel free to reach out to [email protected].
December 17, 2020 @ 3:34 pm
Weglot plugin is free for Themify Lifetime Master Club members or we have to pay for it ?
December 17, 2020 @ 11:28 pm
Weglot is a third party plugin. It is not included in Themify’s Master Club. You can get it from their official site: https://weglot.com
December 17, 2020 @ 4:00 pm
There are some Free plugins too… Does Themify work with them too?
December 19, 2020 @ 11:43 am
Hey ,
Thanks for the fabulous blogs which has lots of informative about glot press translate in wp. By Using your ideas and tips we can do lots of translation projects easily . Anyway super work on this topic and keep update us more blogs
December 28, 2020 @ 12:44 pm
Weglot does not translate elements that are too many rows and columns too deep… not fun.
It does maybe translate the first sentence inside 1 single “builder text element”.
Hope thisll be fixed soon
December 29, 2020 @ 9:06 pm
e.g. “Fancy Heading” module only gets recognized 50% of the time