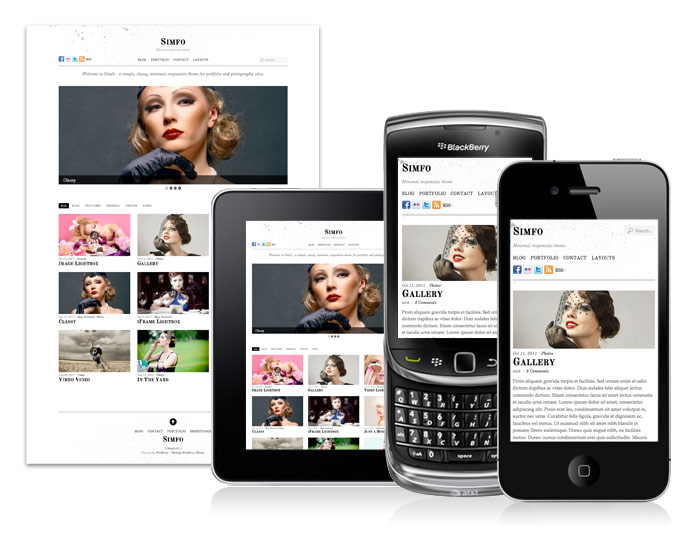
Simfo is a minimal responsive theme with a subtle touch of grungy texture. Design-wise, it has tremendous attention to details — great balance of white space and beautiful typography. Functionality-wise, it works on all screen resolution and most browsers including the mobile devices such as iPad, iPhone, Android, and Blackberry. The template includes optional lightbox and post sorting navigation. Simfo is a perfect theme for portfolio and general blog sites. If you like Simfo, you may also like ThemeMin and Elemin. The following themes also have the responsive layout feature: Grido, Tisa, Suco, Elemin, Funki, Minblr, Wumblr, and iTheme2
We are offering 30% disount code for this new theme. Use the coupon code "simfo" for a 30% discount off this theme until October 20th, 2011.
Responsive Layout
To see the responsive layout and stacking posts in action, view the demo and resize the browser window or view it with a mobile device such as iPhone, iPad, Blackberry, or Android.
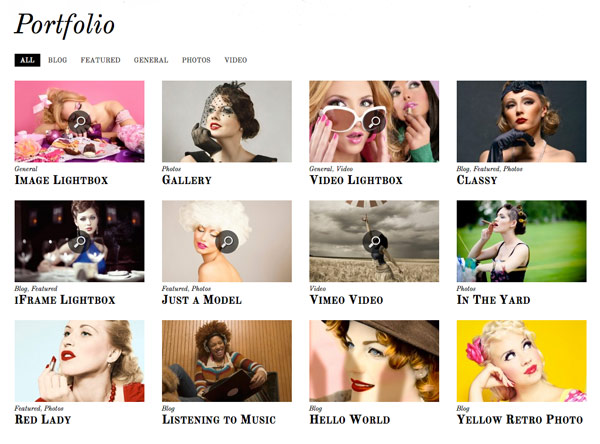
Post Sorting
It includes an optional post sorting navigation to allow user to sort the posts based on the category.
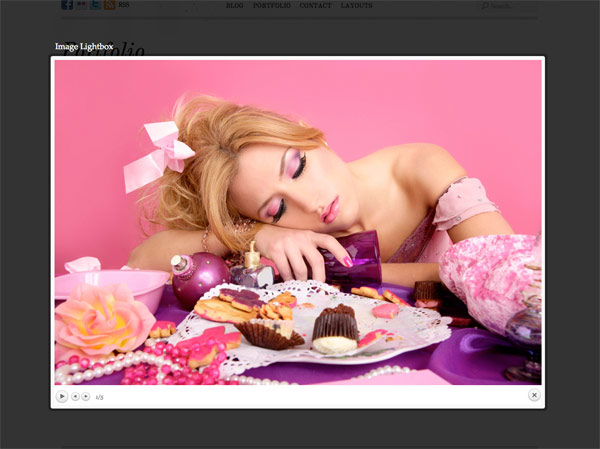
Lightbox Link
You can insert the optional lightbox link to display a zoom-in image, video or iframe window.
Footer Menu, Logo, and Widgets
The footer includes customizable footer widgets, footer menu, and logo text or image.

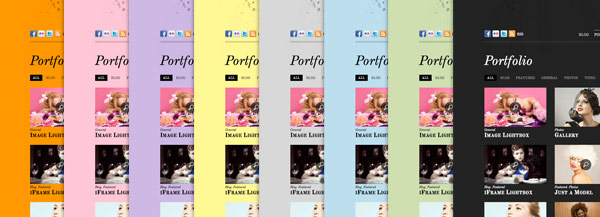
8 Additional Color Skins