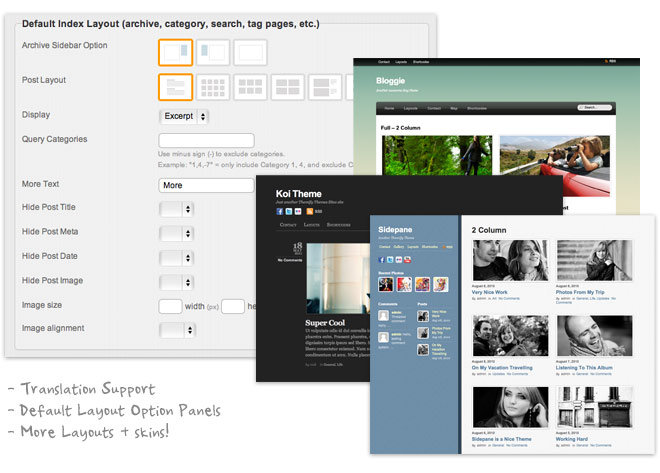
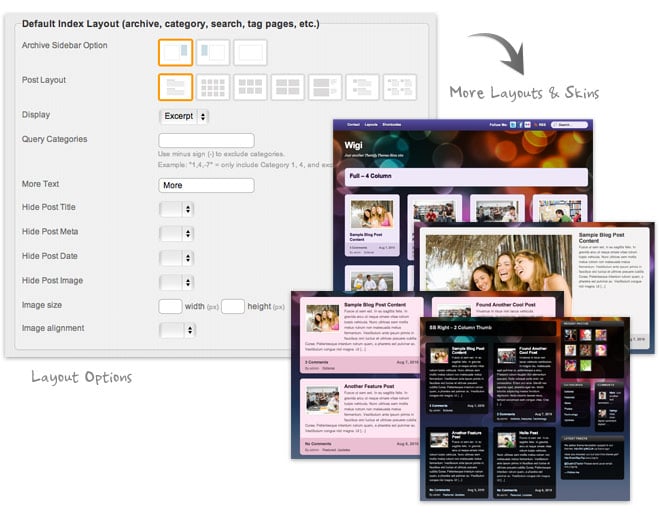
We are please to announce that Wumblr has been updated. We added new modules where you can set the default layout for: Archive (index, search, category, tag pages, etc.), all Pages, and all Posts. As a bonus, we also added a mobile version to it. Wumblr now has the same fluid layout feature as our popular responsive design themes: iTheme2, Minblr, and Funki. What is responsive design? Basically, the layout automatically flows (responds) base on the browser viewport. This means the layout will still look good and consistent when viewed from most modern devices (desktop or mobile) and any screen resolution. To see this in action, visit our demo, resize your browser window to see the fluid layout. Also, don't forget to try it on a mobile device such as iPad, iPhone, Android, and Blackberry.
New Funki Theme
After the success of our two popular responsive design + mobile themes (free iTheme2 and Minblr), Funki is the new addition to the library. The theme is coded with HTML5 techniques and has a responsive layout which is a combination of CSS3 and Javascript magic. It works on all modern browsers, mobile devices (iPhone, Blackberry, Android, etc.), and on any display resolution. To see it in action, go to our demo site and resize your browser's window. On top of the great fluid design, we spent a huge amount of time building a number of customizable layout options (4-column, 3-column, 2-column, list view, thumb view, etc.). Funk up your site with Funki now!
Use the coupon code "funki" for a 30% discount off this theme until Apr 4, 2011.
A funky Theme Preview of Funki
Recently, on top of supporting our users and developing some amazing code (launching soon), we've been working on a funky new theme. We love giving sneak previews of new themes and today is no different. Attached below is a quick preview of the design for our latest theme "Funki". Funki is a fun, strong & bold font, vivid color, and stylish theme. It will come with a number of abstract background images that work with any variations of color. Stay tuned for the release! And, don't forget to follow us on Twitter ( @themify ) to get the latest news and updates.
Setting your WordPress Permalinks
We often get asked how to set up certain WordPress settings here at Themify. We thought it would be a good idea to provide some tutorials on how to get started with some of WordPress' features outside of themes. Here is an in-depth tutorial on how to set your WordPress permalinks. To note: A permalink is a link or URL that points to a specific post or page entry.
WordPress Default URLs
The default structure of a permalink uses the post ID as a unique identifier in the url: http://example.com/?p=23
If you're happy with this then you're good to go. But it you're like most people and you want to spice things up a bit more, keep reading on.
Customizing your URLs
To change the default structure to something thats a bit more friendlier and more readable, go to Settings > Permalinks. There you should see a screen that looks something like the image below. In this example we've already chosen to use a "Custom Structure" for our links but you can choose one of the other defaults available if you want.
Available Permalink Tags
If you've chosen to use a "Custom Structure" then there are some useful tags available to you:
- %year% = the year of the post (eg. 2010)
- %monthnum% = month of the year (eg. 08)
- %day% = day of the month (eg. 25)
- %hour% = hour of the day (eg. 16)
- %minute% = minute of the hour (eg. 29)
- %second% = second of the minute (eg. 12)
- %postname% = post slug (post title)
- %post_id% = the ID of the post
- %category% = category slug of where the post is stored
- %author% = author name
You can use these tags listed to customize your permalink like we have in the image example above. Make sure to end your custom URL structure with either %post_id%
or %postname%
so WordPress has a unique identifier to point to. Here are some good examples of common, custom, permalink structures:
- /%category%/%postname% =
yoursite.com/category/post-title
- /%post_id%/%postname% =
yoursite.com/23/post-title
- /%year%/%postname% =
yoursite.com/2010/post-title
Adding to your URLs
You can also add a string, including file extensions, to the end of the url as seen in the examples below:
- /%category%/%postname%/ =
yoursite.com/category/post-title/
(forward slash added) - /%category%/%postname%.html =
yoursite.com/category/post-title.html
- /%category%/%postname%.php =
yoursite.com/category/post-title.php
You can, technically, add anything to the end of the URL and WordPress will interpret it properly. This is useful if you are migrating from a static html site and you want to keep the old URL structure.
Categories & Tags
By default WordPress uses "category
" and "tag
" as the base name for the category and tag archives respectively. You can rename these under the permalink settings as well. A good example of why you might change these base names would be if your blog was all about cars. It would look a lot nicer if you changed the category base name to "car" and the tag base to "model". This way your category URL structure will look something like yoursite.com/car/category-slug
and the tag URL structure would be yoursite.com/model/tag-slug
. Here's what those settings would look like:
.htaccess File
What happens when you've set this all up but its not working? In most cases, you are probably missing the .htaccess
file in the root of your WordPress install. Open up your FTP client, connect to your server and make sure that there's a .htaccess
file and that it contains the following code:
# BEGIN WordPress
<IfModule mod_rewrite.c>
RewriteEngine On
RewriteBase /
RewriteCond %{REQUEST_FILENAME} !-f
RewriteCond %{REQUEST_FILENAME} !-d
RewriteRule . /index.php [L]
</IfModule>
# END WordPress
Reference: for more information about WordPress permalinks, visit WordPress codex.
New Tumblr-like Theme: Minblr
Minblr is a minimal Tumblr-like theme for WordPress. The layout design is liquid and responsive. This means the layout flows nicely across any display resolution. Minblr is promised to delivery your content nicely in all major browsers (Chrome, Firefox, Safari, Internet Explorer, etc.) and most modern mobile devices. It has 3 layout options (default with sidebar, 2-column layout, and fullwidth with no sidebar). On top of all great features, there are 10 colorful skins. Minblr utilizes the brand new post formats, if your running WordPress 3.1 or greater, but we've made sure to add a fallback for older installs.
Coupon code: enter "minblr" coupon for a 40% discount of this theme until Mar 11, 2011.
Integrating Google Fonts with your Themify theme
Are you bored of the typical web safe fonts? Well, here is a quick tutorial to show you how to integrate Google Web Fonts to your Themify themes. The benefits of using Google Fonts: it is light weight and supported in most browsers: Chrome, Firefox, Internet Explorer, Safari, and Opera.
1. Find the font
- To get started, go to Google Web Fonts directory and find the font that you want to use (eg. Kreon font family).
2. Copy the embed code
- Click on the "Use this font" tab
- Copy the embed code (eg.
<link href='http://fonts.googleapis.com/css?family=Kreon' rel='stylesheet' type='text/css'>
)
3. Paste the embed code
- Go to your Themify theme's setting panel in the WordPress admin
- Paste the embed code in the "Header Code" text box
4. Specify the elements
- Click on the "Styling" tab
- Then click on the "Custom CSS" link in the sub menu
- Paste the following code in the Custom CSS text box:
h1, h2, h3, h4, h5, h6, #site-logo, .post-title, .widgettitle { font-family: 'Kreon', arial, serif; }
- The code above will apply the "Kreon" font family to all headings (h1 - h6), site logo, post title, and widget title
- You can change what elements get styled with the 'Kreon' font by changing the CSS selector like so:
body { font-family: 'Kreon', arial, serif; }